

How To Install & Use OW Sync - Profit4 Connector
Here’s everything you need to know to install and use OW Sync - Profit4 Connector.
1. Before You Start — Get Profit4 API Access
Section titled “1. Before You Start — Get Profit4 API Access”OW Sync connects to Profit4 (OGL Software) through Profit4’s own API, so there is no OW Sync Bridge or on-premises agent to install. Before you start, ask OGL for three things:
-
Your Profit4 URL: The address you use to open Profit4, for example
https://yourcompany.profit4.co.uk. -
An API user: A Profit4 username and password set up for API access. OGL creates this for you; we recommend a dedicated user for OW Sync rather than a person’s own login.
-
Allowlisting for OW Sync: Profit4 instances only accept requests from approved IP addresses. OW Sync connects from a small set of fixed outbound IPs, shown on the credentials step in section 4; ask OGL to allow them on your instance — until they do, the connection test fails.
You’ll also need the Company ID of the Profit4 company you want to sync. Profit4 calls this the system company ID, and you can find it under the system company database option in Profit4. If your instance has more than one company — a live company and a test copy, for example — each has its own ID, and each one you connect becomes a separate OW Sync connection.
ℹ️ Rate limits: OGL limits the Profit4 API to 2 requests per second by default. OW Sync stays well within that on every connection, leaving headroom for your other Profit4 integrations, and queues its own requests when it gets busy. OGL can raise the limit on request.
2. Initial Installation
Section titled “2. Initial Installation”-
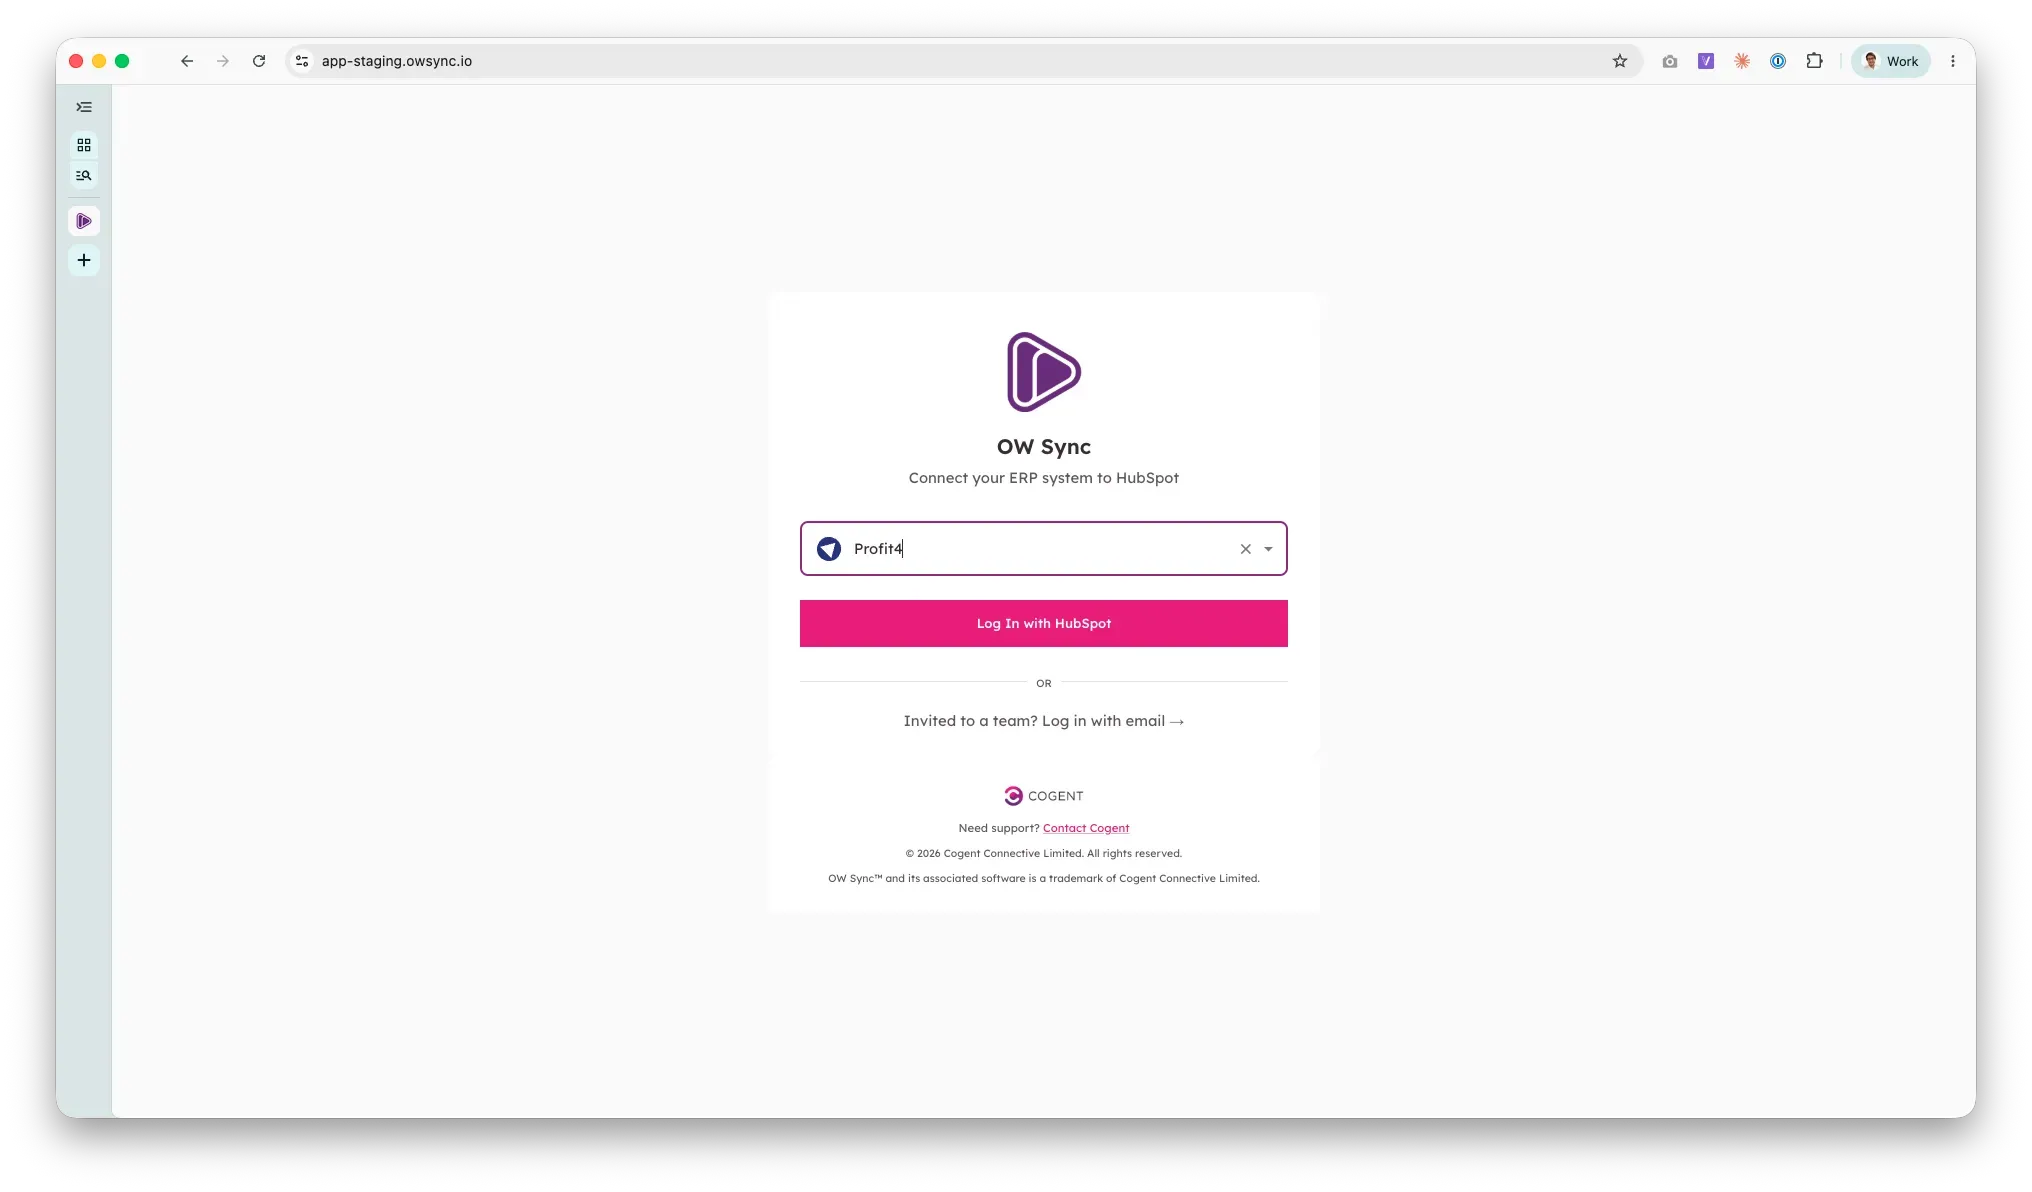
Install OW Sync - Profit4 Connector from the official installation flow. On the OW Sync landing page, open the “Search for your ERP…” dropdown and select Profit4 (“Two-way sync between Profit4 & HubSpot”), then click Log In with HubSpot.
-
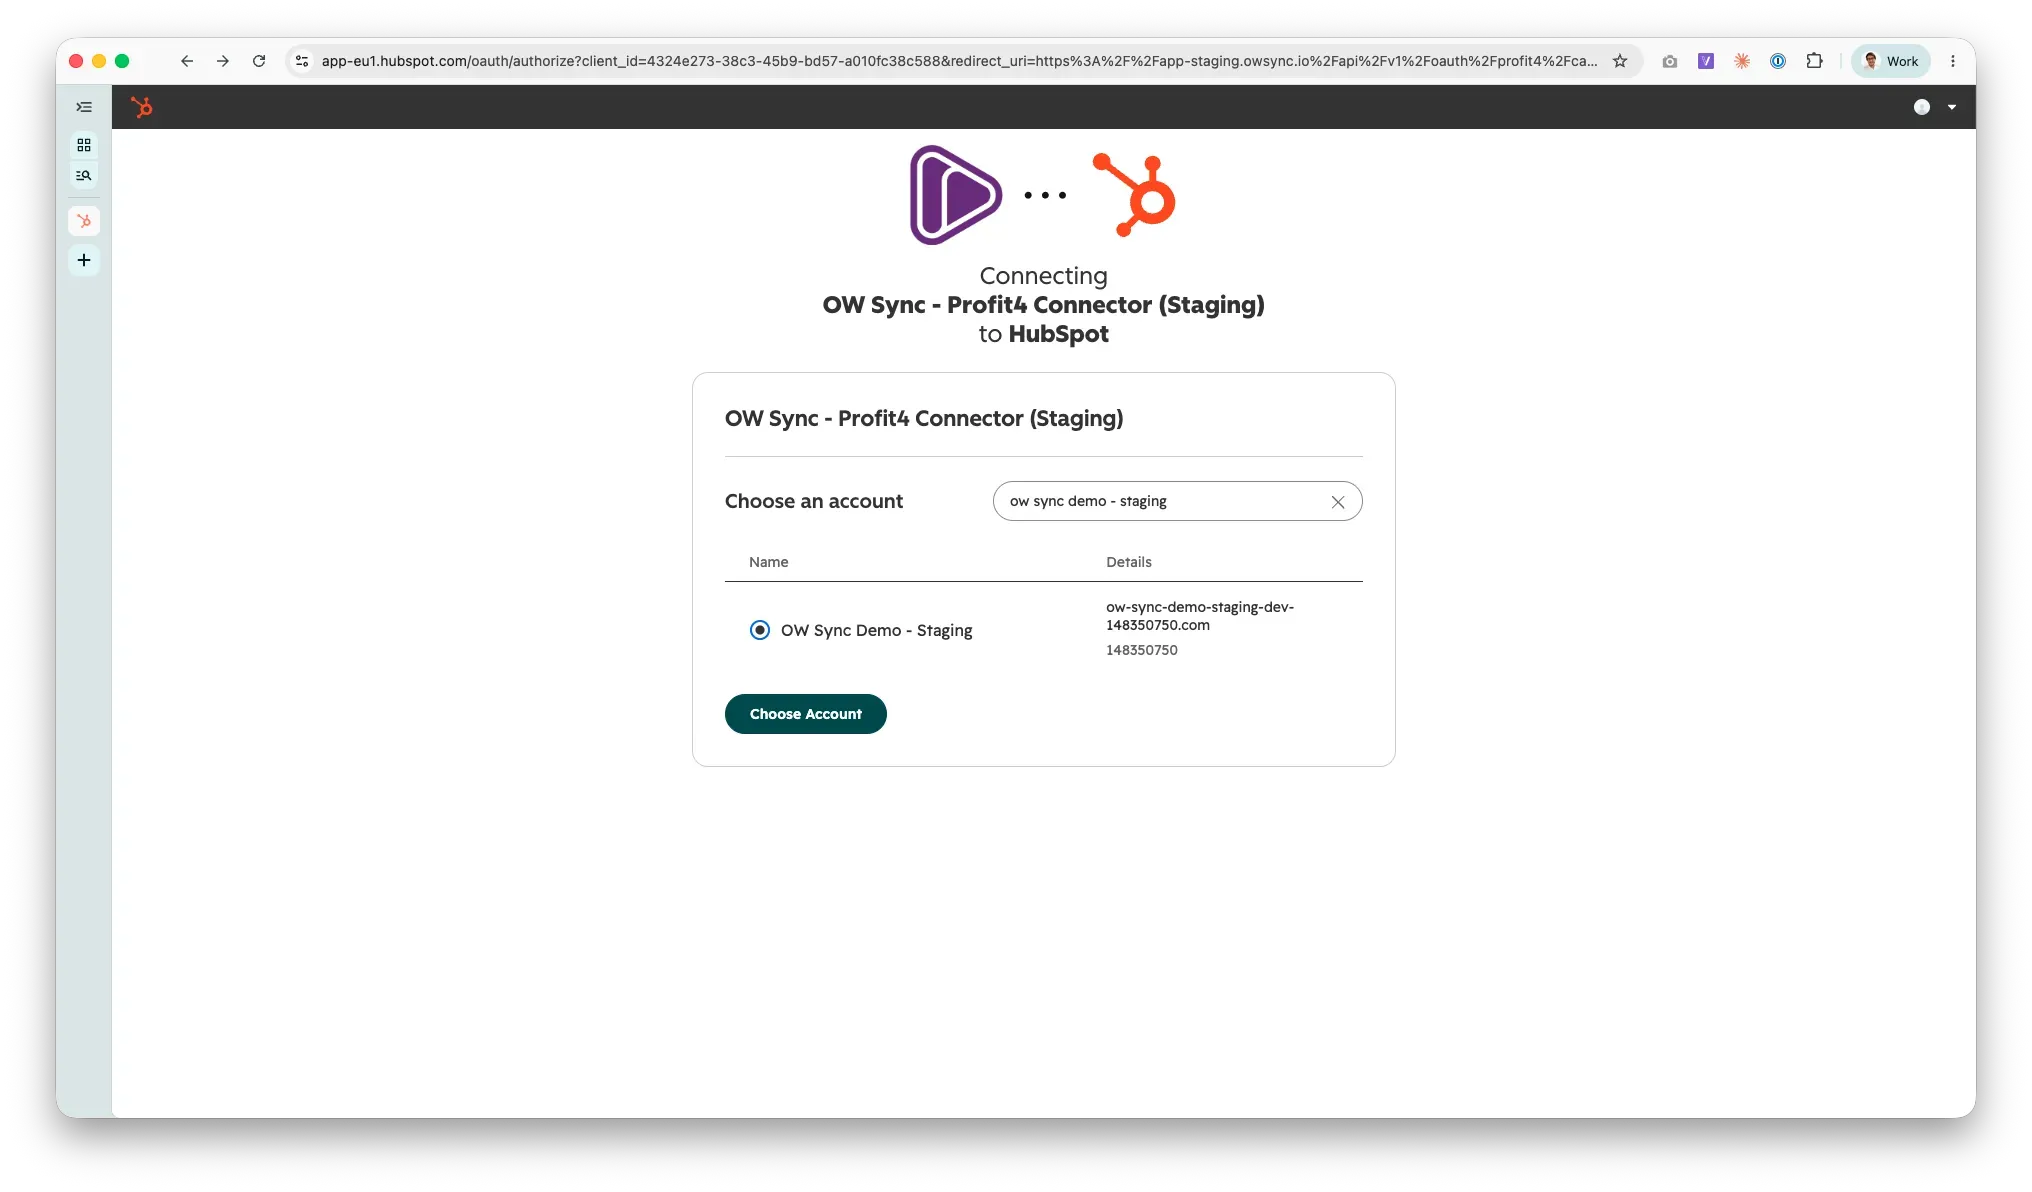
Select your HubSpot account from the list. We recommend testing on a sandbox or test account before deploying to production.
-
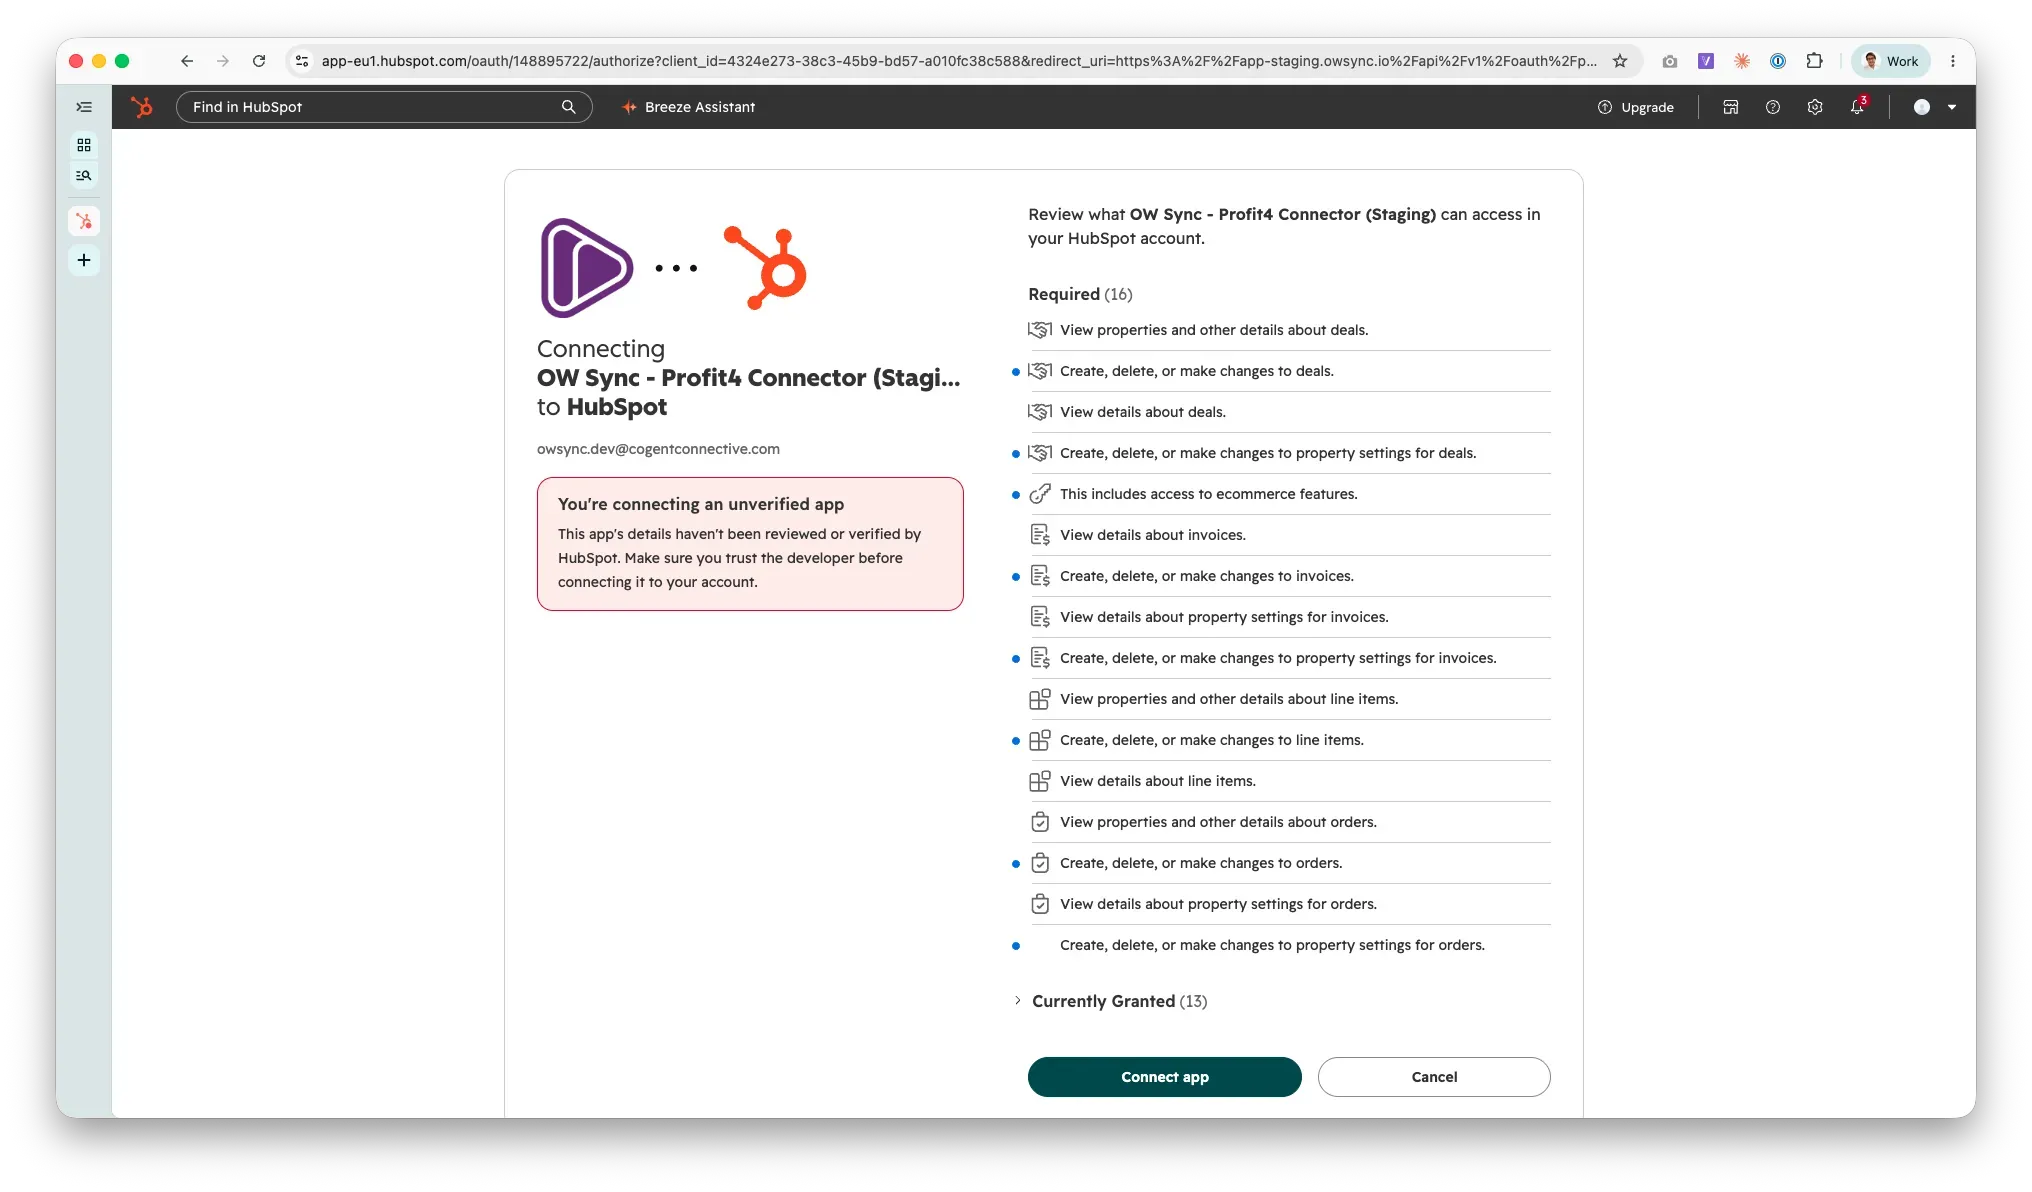
Review the permissions required by the app — these include access to your companies, contacts, deals, orders, invoices, products, line items, lists, and their property schemas — then click Connect app to proceed.
3. Account Setup
Section titled “3. Account Setup”After connecting, you’ll be guided through a setup wizard.
-
Select Billing Contact: Choose a portal user who will be the primary billing contact for this account from the dropdown, then click Continue.
-
Company Information: Enter your billing company details including domain, legal company name, street address, city, state/county, postal code, and country. This information will be used for invoicing. Click Continue to proceed.
4. Connect Profit4
Section titled “4. Connect Profit4”-
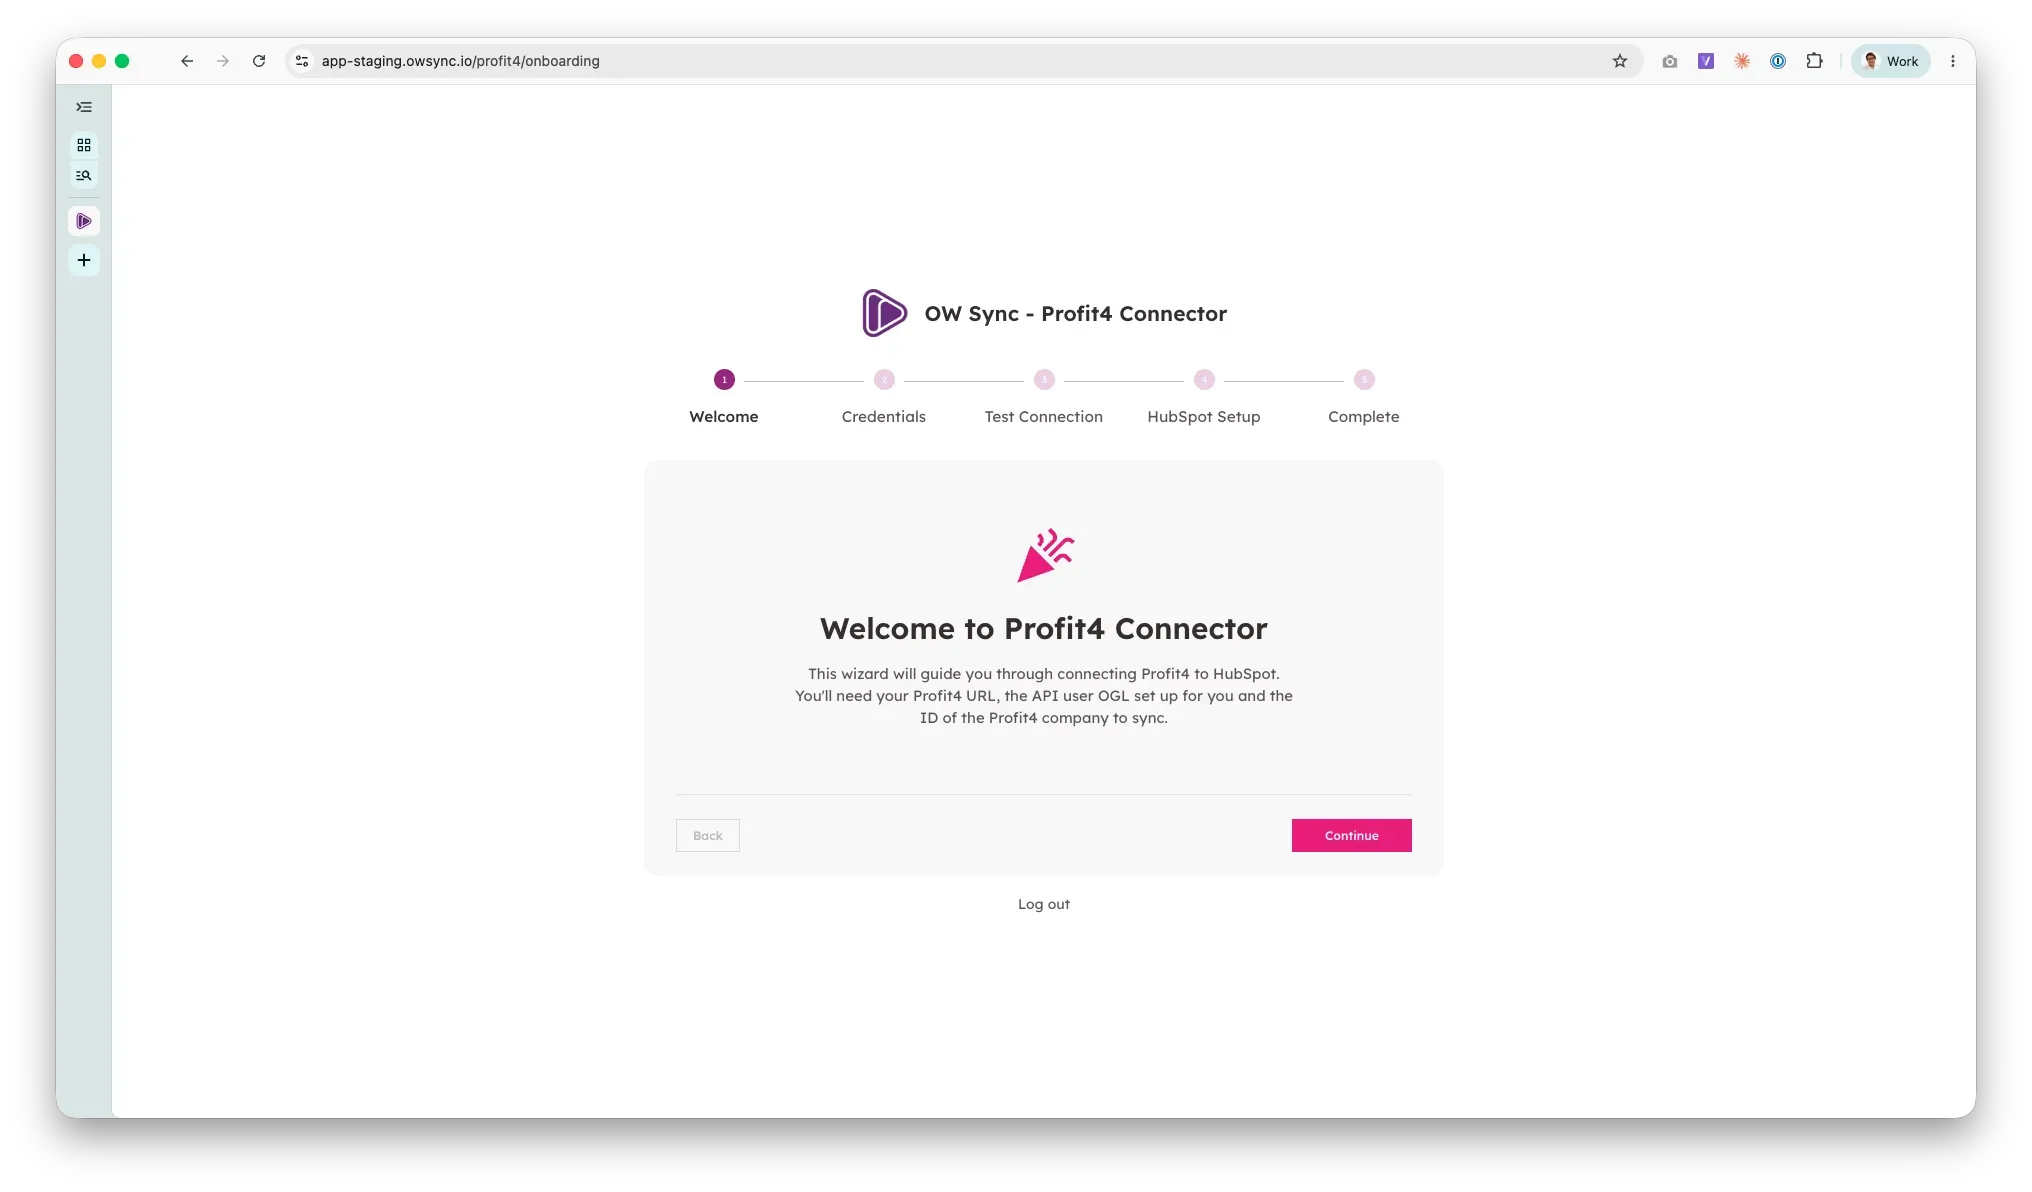
Welcome to Profit4 Connector: The onboarding wizard explains that you’ll need your Profit4 URL, the API user OGL set up for you, and the ID of the Profit4 company to sync. Click Continue.
-
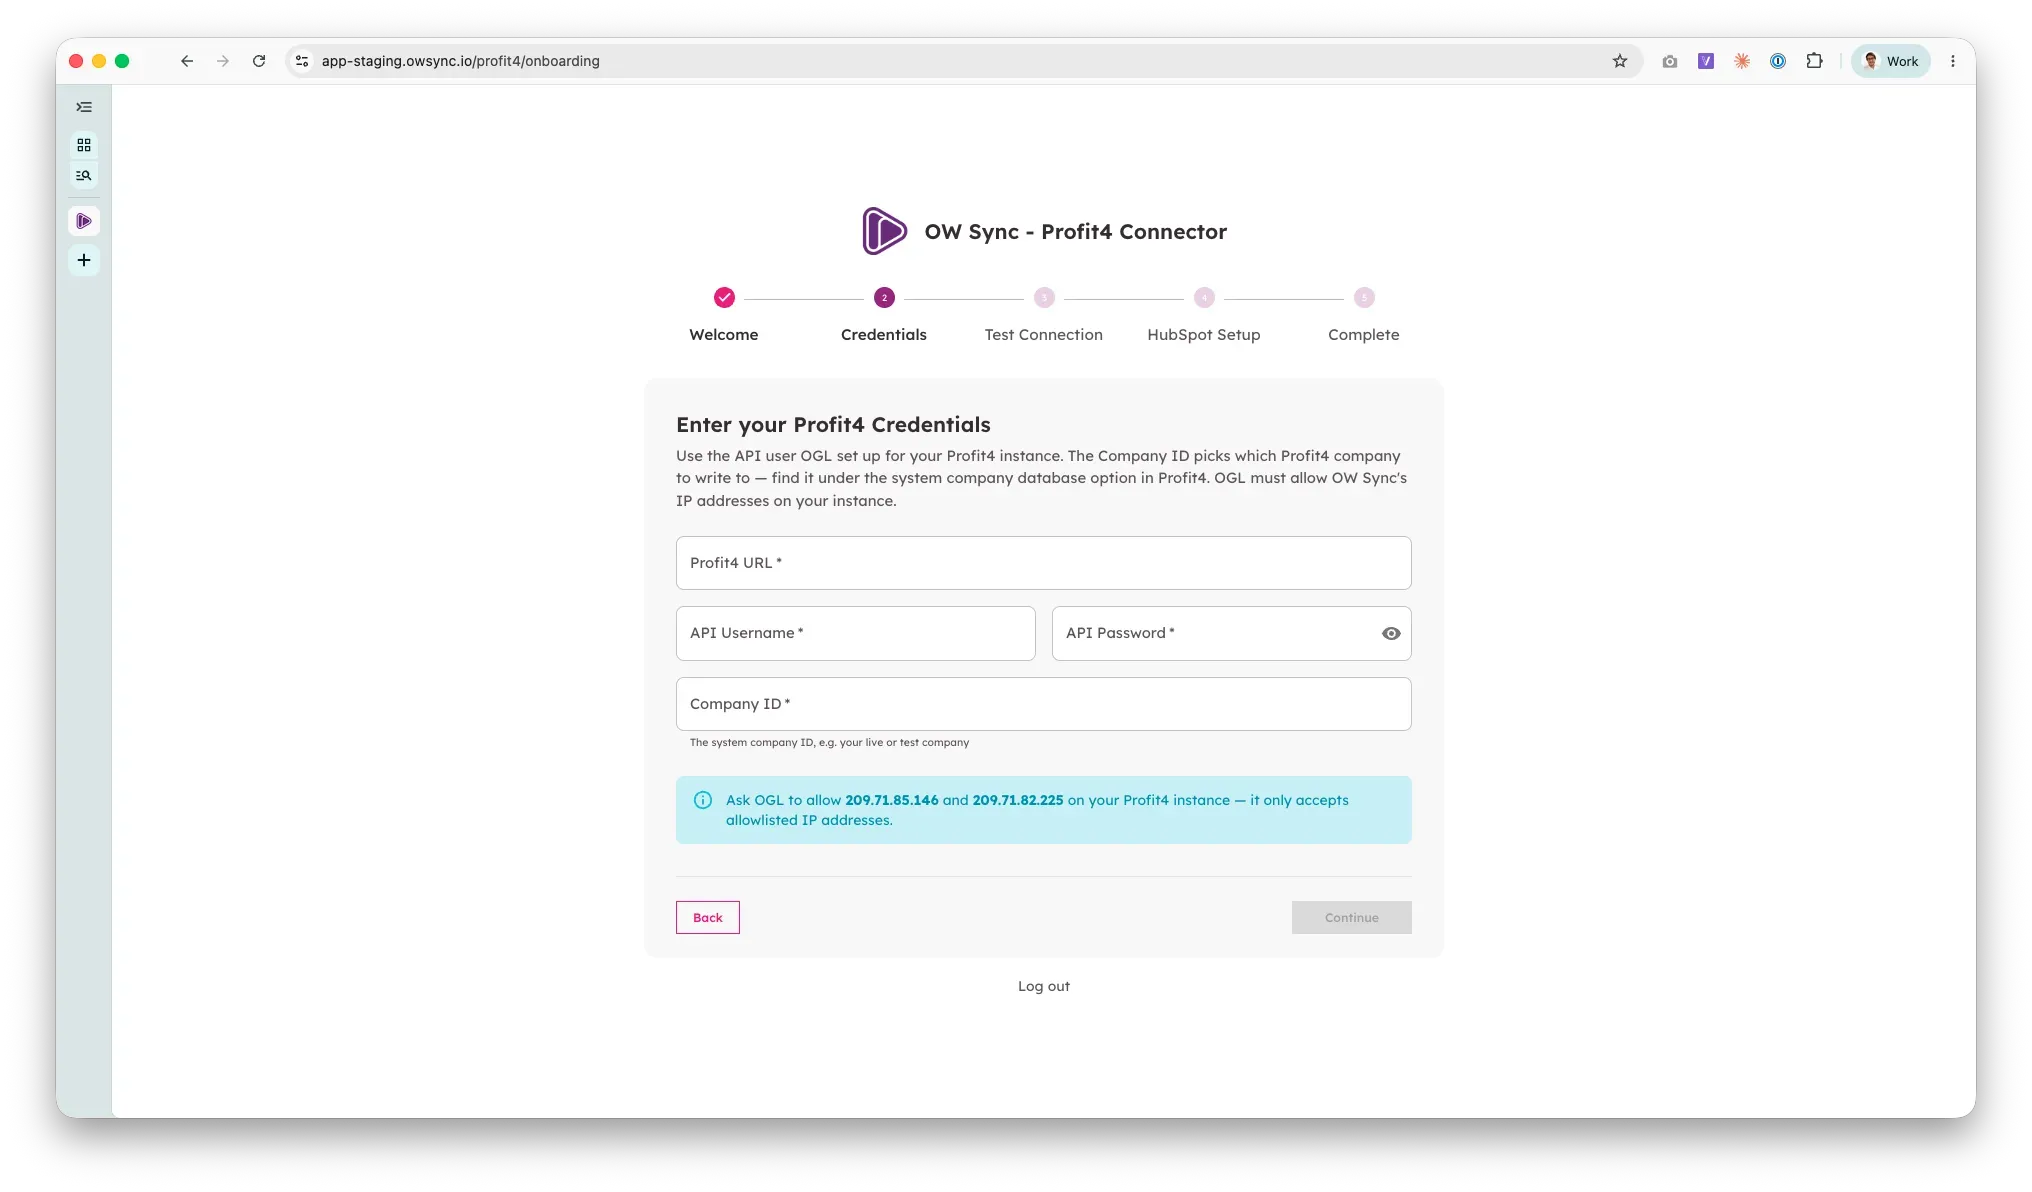
Credentials: Enter your Profit4 URL, the API Username and API Password, and the Company ID from section 1. The screen shows the OW Sync IP addresses OGL must allow on your instance. Your credentials are encrypted and stored securely.
-
Test Connection: OW Sync signs in to Profit4 and confirms the company. A successful test names the company it reached — for example Connected to Live Holm Global Ltd — and adds (test mode) when the company is a Profit4 test company, so you can be sure you’ve connected the right one before any data moves.
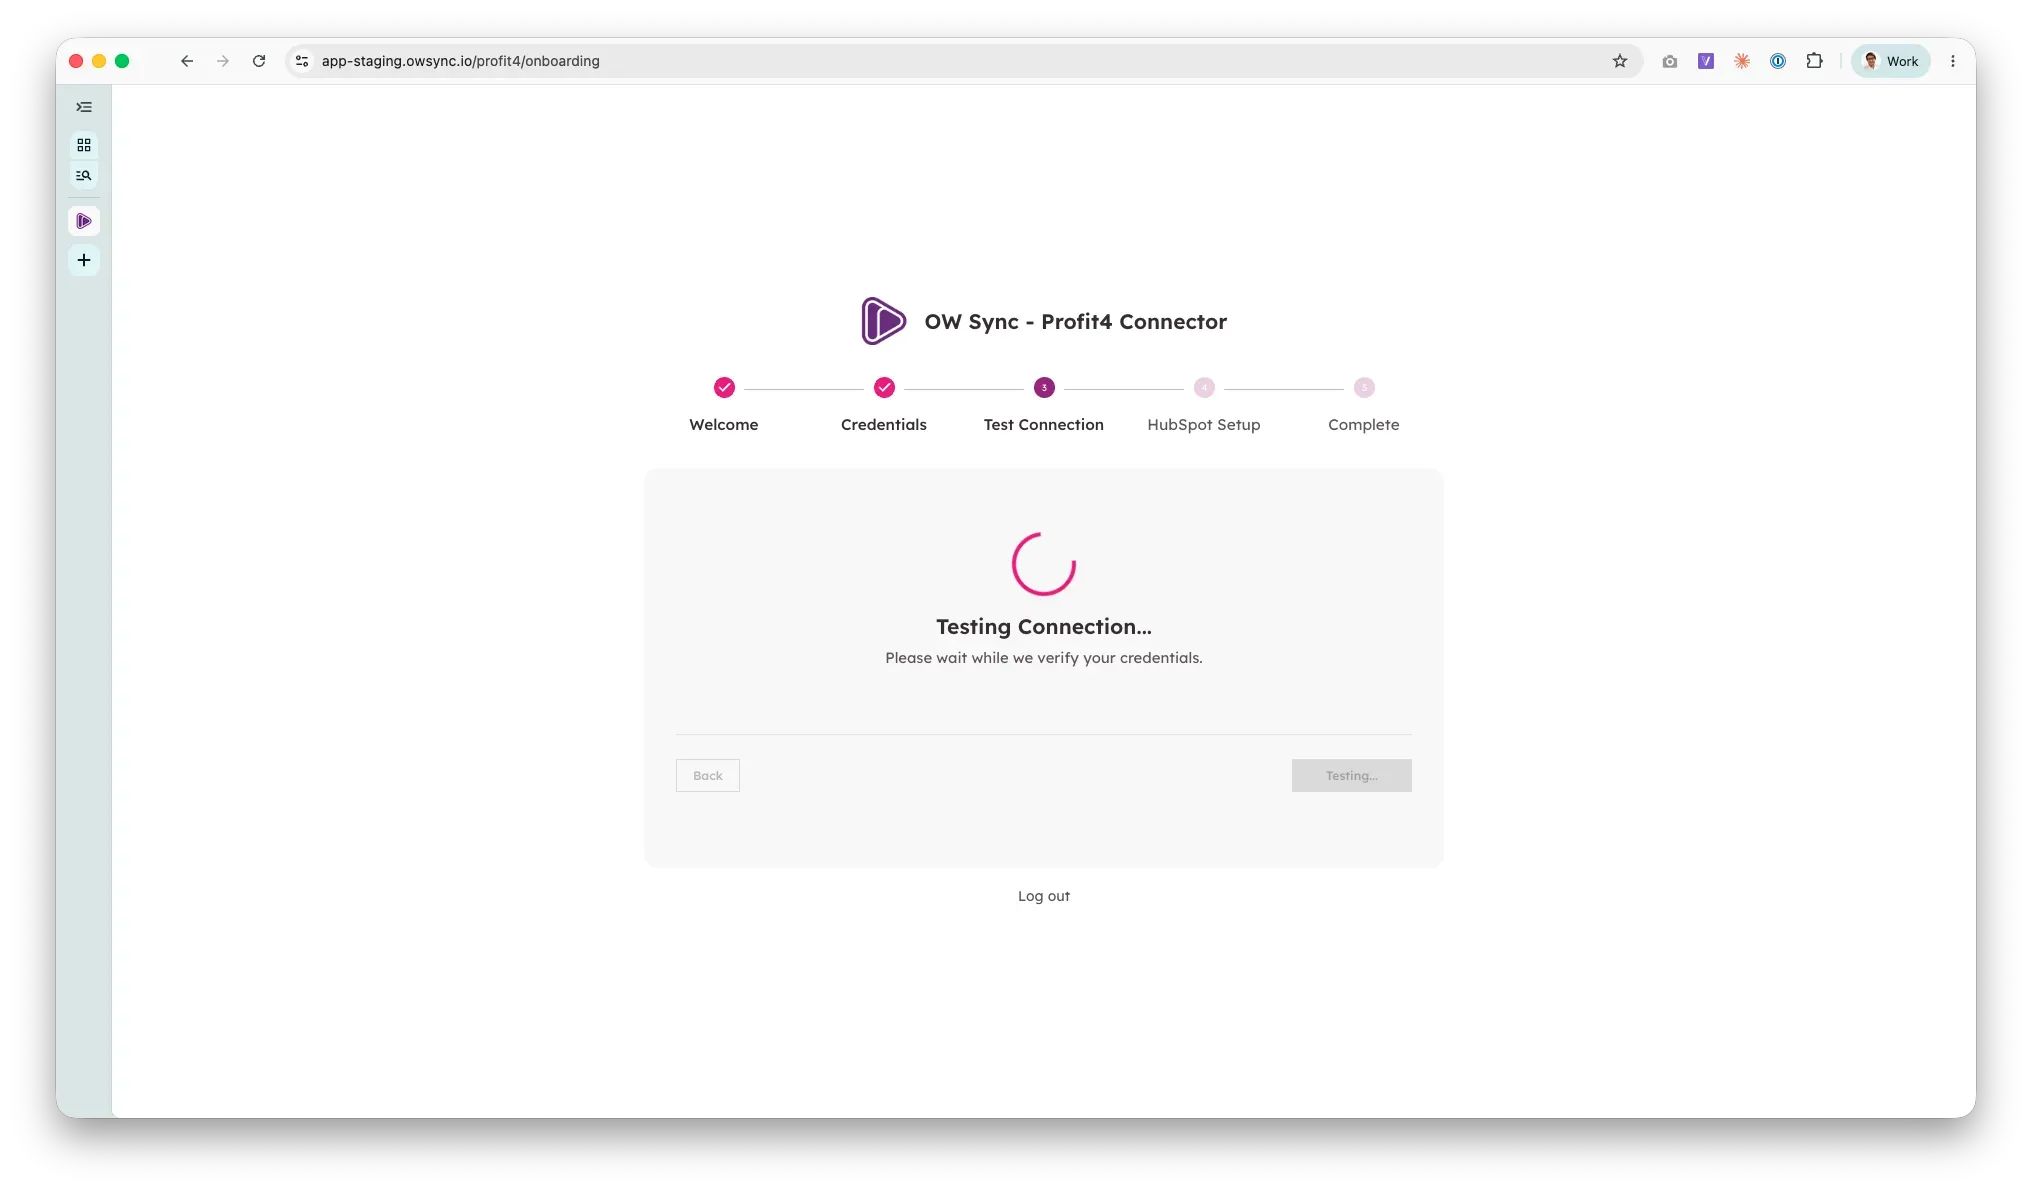
ℹ️ Connection failed? “Profit4 rejected the API username or password” means the login is wrong. “No Profit4 company with ID …” means the Company ID doesn’t exist on your instance. A connection that times out usually means OGL hasn’t yet allowed OW Sync’s IP addresses.
5. HubSpot Setup — Create Properties
Section titled “5. HubSpot Setup — Create Properties”Profit4 data is mapped to the matching native HubSpot objects (companies, contacts, products, deals, orders, invoices, and line items). There’s no target object to choose.
-
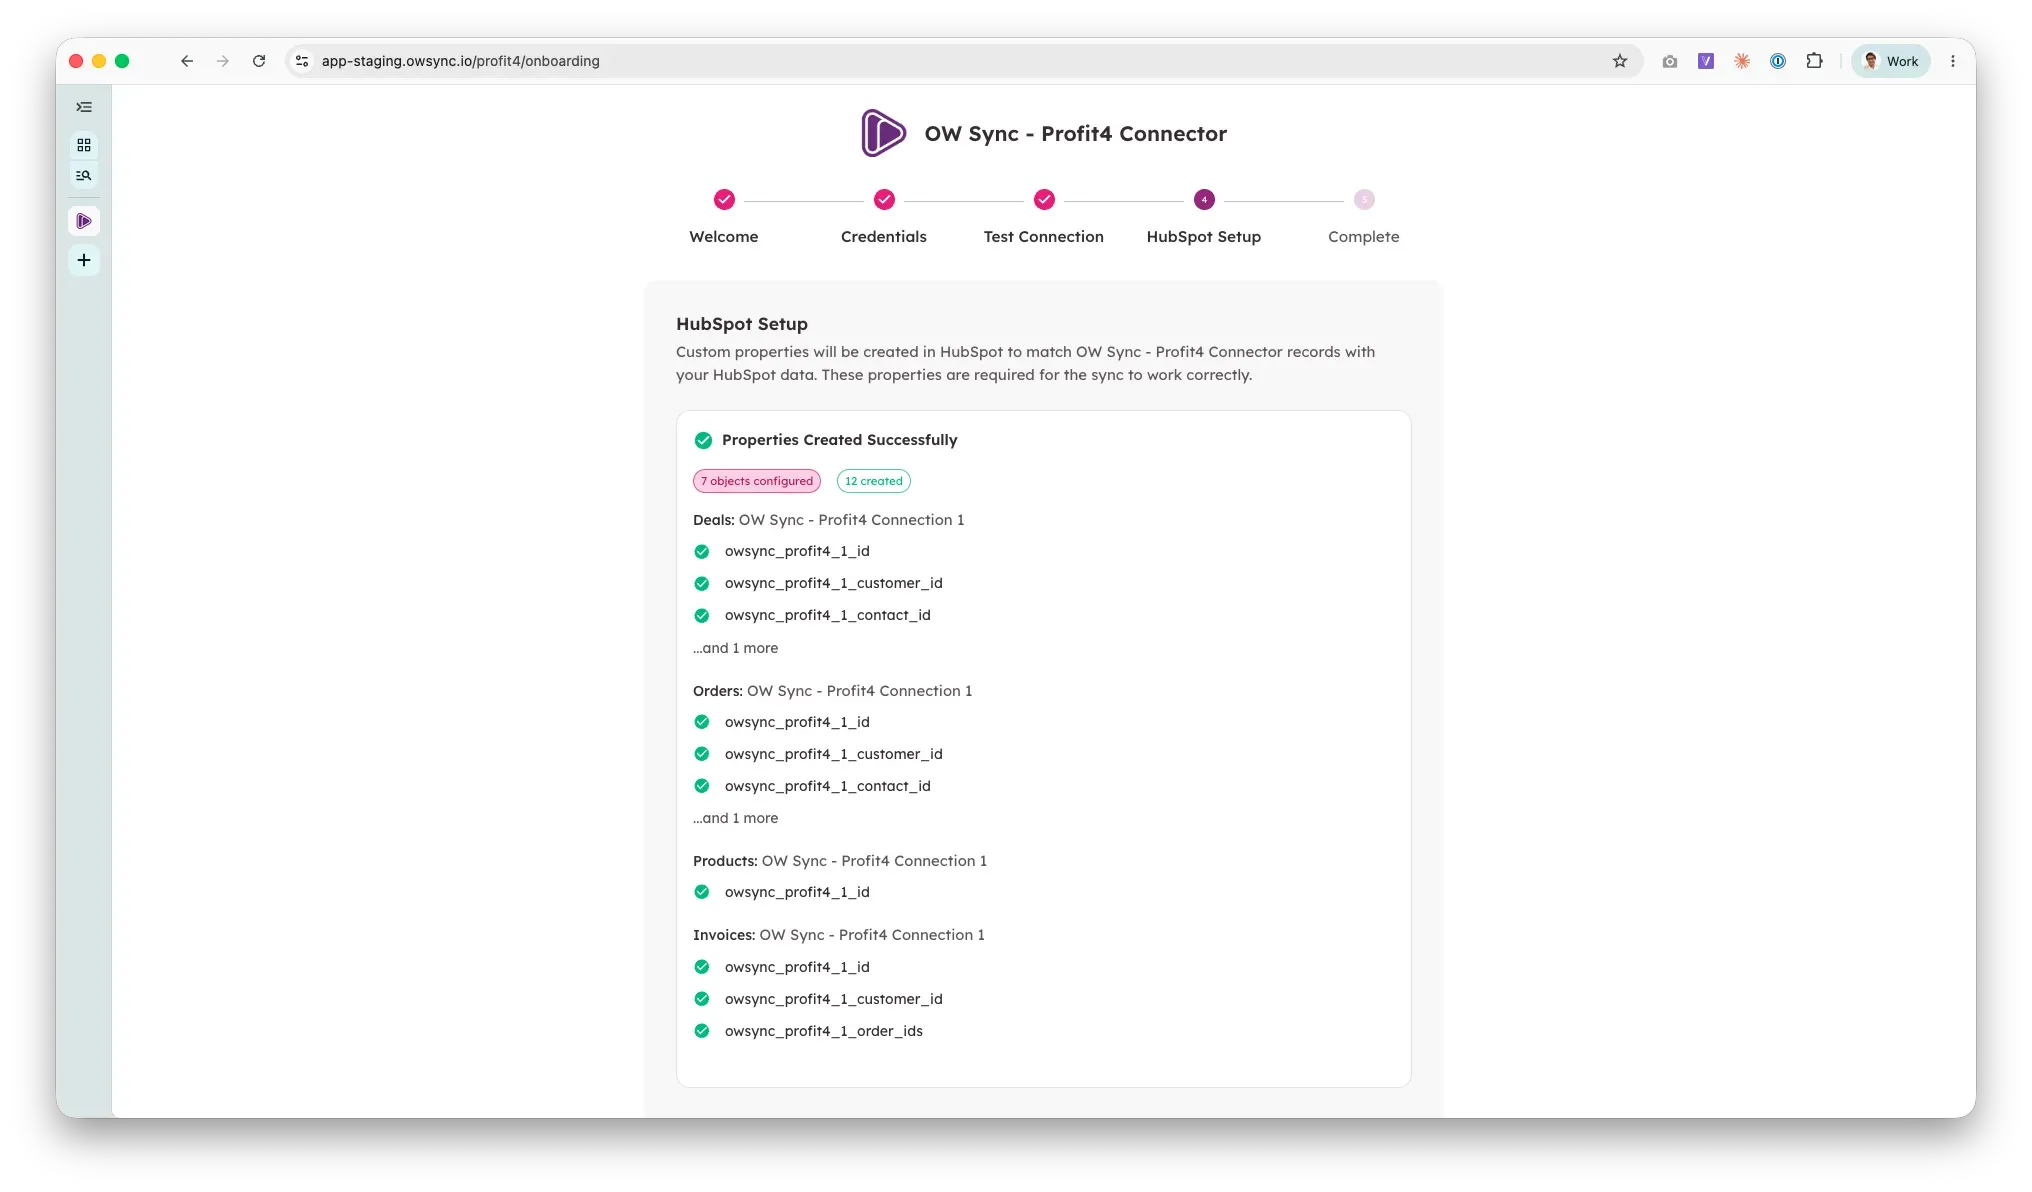
Click Create Properties to proceed. OW Sync creates the sync pairs, field mappings, and associations, and reads your company’s lookup lists — payment terms, currencies, warehouses, delivery methods, VAT categories, and similar — to back the dropdown fields.
-
To keep your HubSpot portal tidy, OW Sync creates only the properties every sync needs at this point: the Profit4 record IDs that link each HubSpot record to Profit4, the IDs that link records to each other, and a few key fields such as the customer account reference and the contact email. Fields that land in HubSpot’s own properties — names, phone numbers, addresses, SKUs, prices, amounts — need nothing created. Every other Profit4 field is ready to switch on from the Mapping page whenever you want it (see section 7).
6. Finish Onboarding
Section titled “6. Finish Onboarding”-
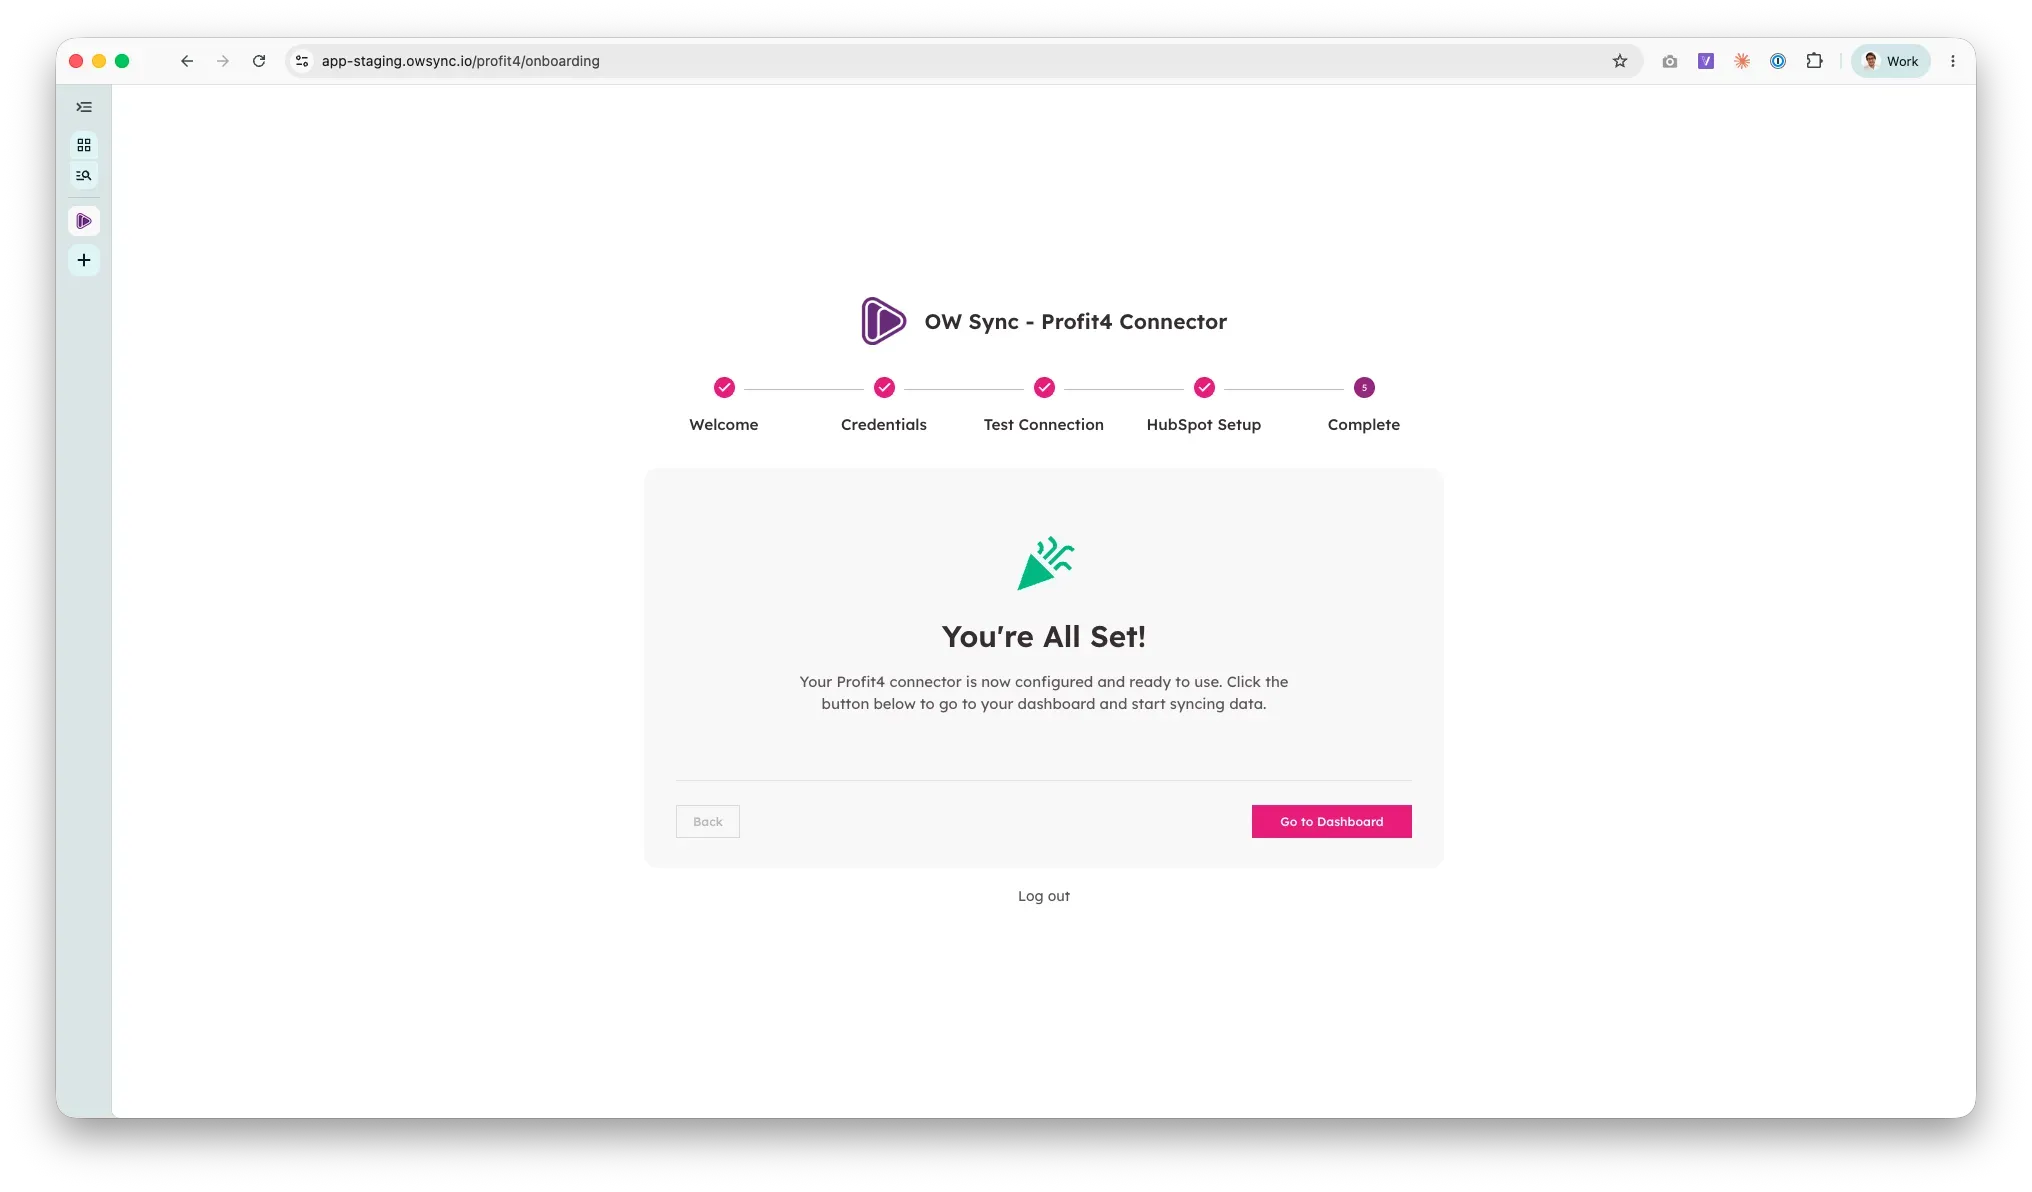
Once properties are created, you’ll see the All set! screen confirming your Profit4 connector is configured and ready to use. Click Go to Dashboard to enter the app.
7. Review Your Sync Configuration
Section titled “7. Review Your Sync Configuration”-
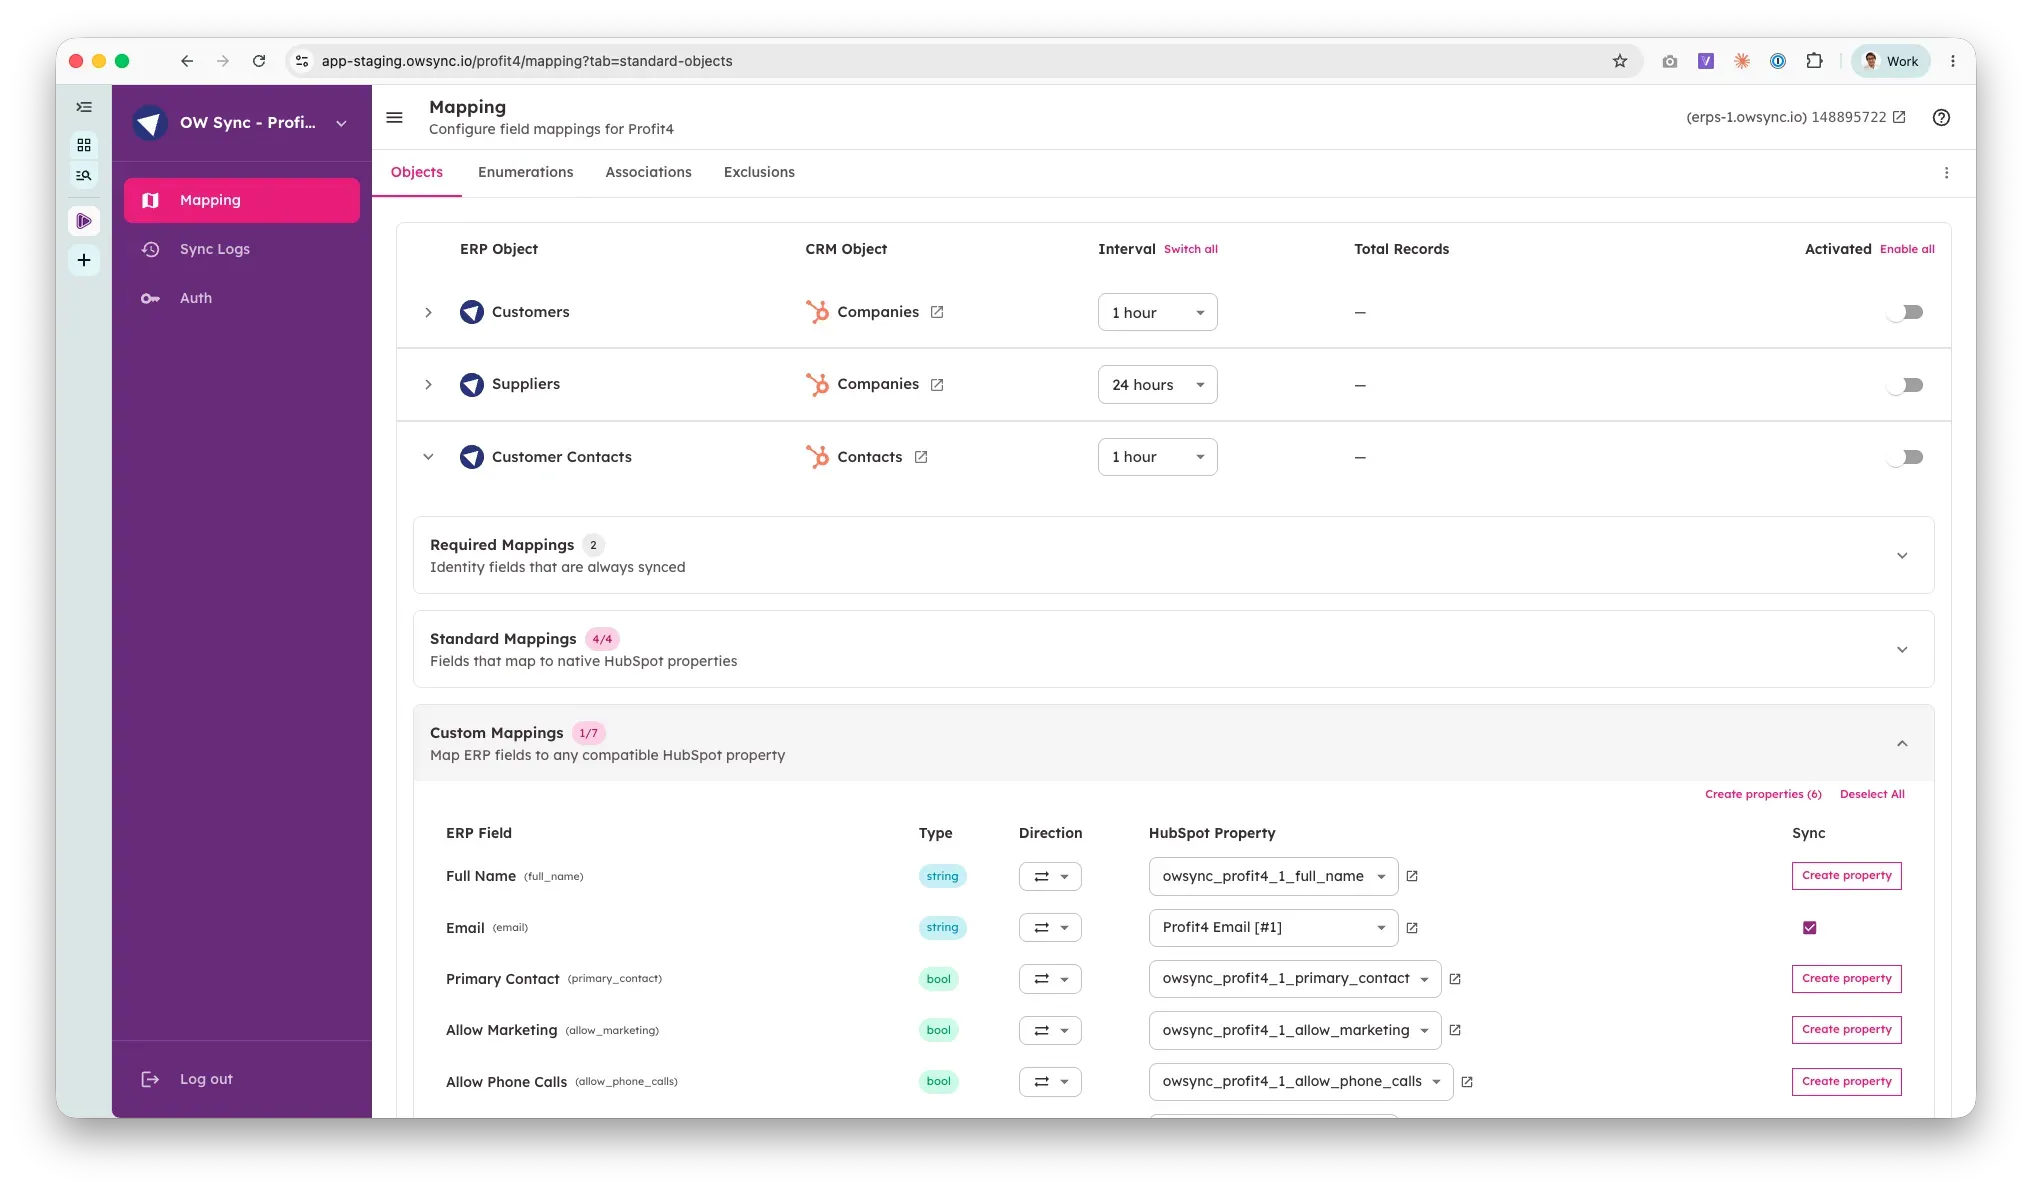
After onboarding, you’ll land in the OW Sync app. If you connected more than one Profit4 company, use the connection selector in the header to choose which one you’re configuring. The Mapping page’s Objects tab shows your pre-configured sync pairs, which bring Profit4 data into the matching native HubSpot objects:
- Profit4 Customers → HubSpot Companies
- Profit4 Customer Contacts → HubSpot Contacts
- Profit4 Sales Quotes → HubSpot Deals
- Profit4 Sales Orders → HubSpot Orders
- Profit4 Products → HubSpot Products
- Profit4 Sales Quote Lines / Sales Order Lines → HubSpot Line Items
- Profit4 Sales Invoices → HubSpot Invoices
- Profit4 Sales Invoice Lines → HubSpot Line Items
- Profit4 Suppliers → HubSpot Companies and Profit4 Supplier Contacts → HubSpot Contacts — suppliers carry their own Profit4 supplier ID, so they never merge with customers
-
Use the Activated toggle on each row to turn a sync pair on or off, and the Interval dropdown to set how often it runs (sync frequency depends on your plan). You can review the field mappings for any pair by expanding its row before enabling it.
-
Add the fields you want: Inside an expanded sync pair, fields that already land in HubSpot properties are switched on. Every other Profit4 field is listed with a Create property button: click it and OW Sync creates the HubSpot property — with its dropdown options for list fields — and starts syncing that field. To add several at once, tick the checkbox at the left of each field you want — click one, then hold Shift and click another to tick every field in between, or use the header checkbox for the whole list — then click Create selected (N) and confirm. Selections carry across field groups, so one batch can cover several. Records already in HubSpot fill in the new fields on the next sync run.
ℹ️ Contact email addresses: A Profit4 contact’s email address syncs into a dedicated OW Sync email property on the HubSpot contact, not into HubSpot’s native Email field, so it never conflicts with the email HubSpot uses to identify the contact. Contacts without an email address in Profit4 are still created.
ℹ️ Archived and converted records: Profit4 archives quotes when they convert to orders, and orders and invoices when they’re fulfilled. These records keep syncing, with their archived state and reason (converted, fulfilled, or manual) on the HubSpot record — they are never removed from HubSpot because they were archived.
ℹ️ Large first syncs: The first run of each pair imports the full history, paced to stay within Profit4’s API limits, so it can take a while on larger companies. Subsequent runs read only the records changed since the last sync. We recommend activating Customers first, then enabling the remaining pairs once it completes. If you bulk-edit records in Profit4, those records change and resync on the next run.
-
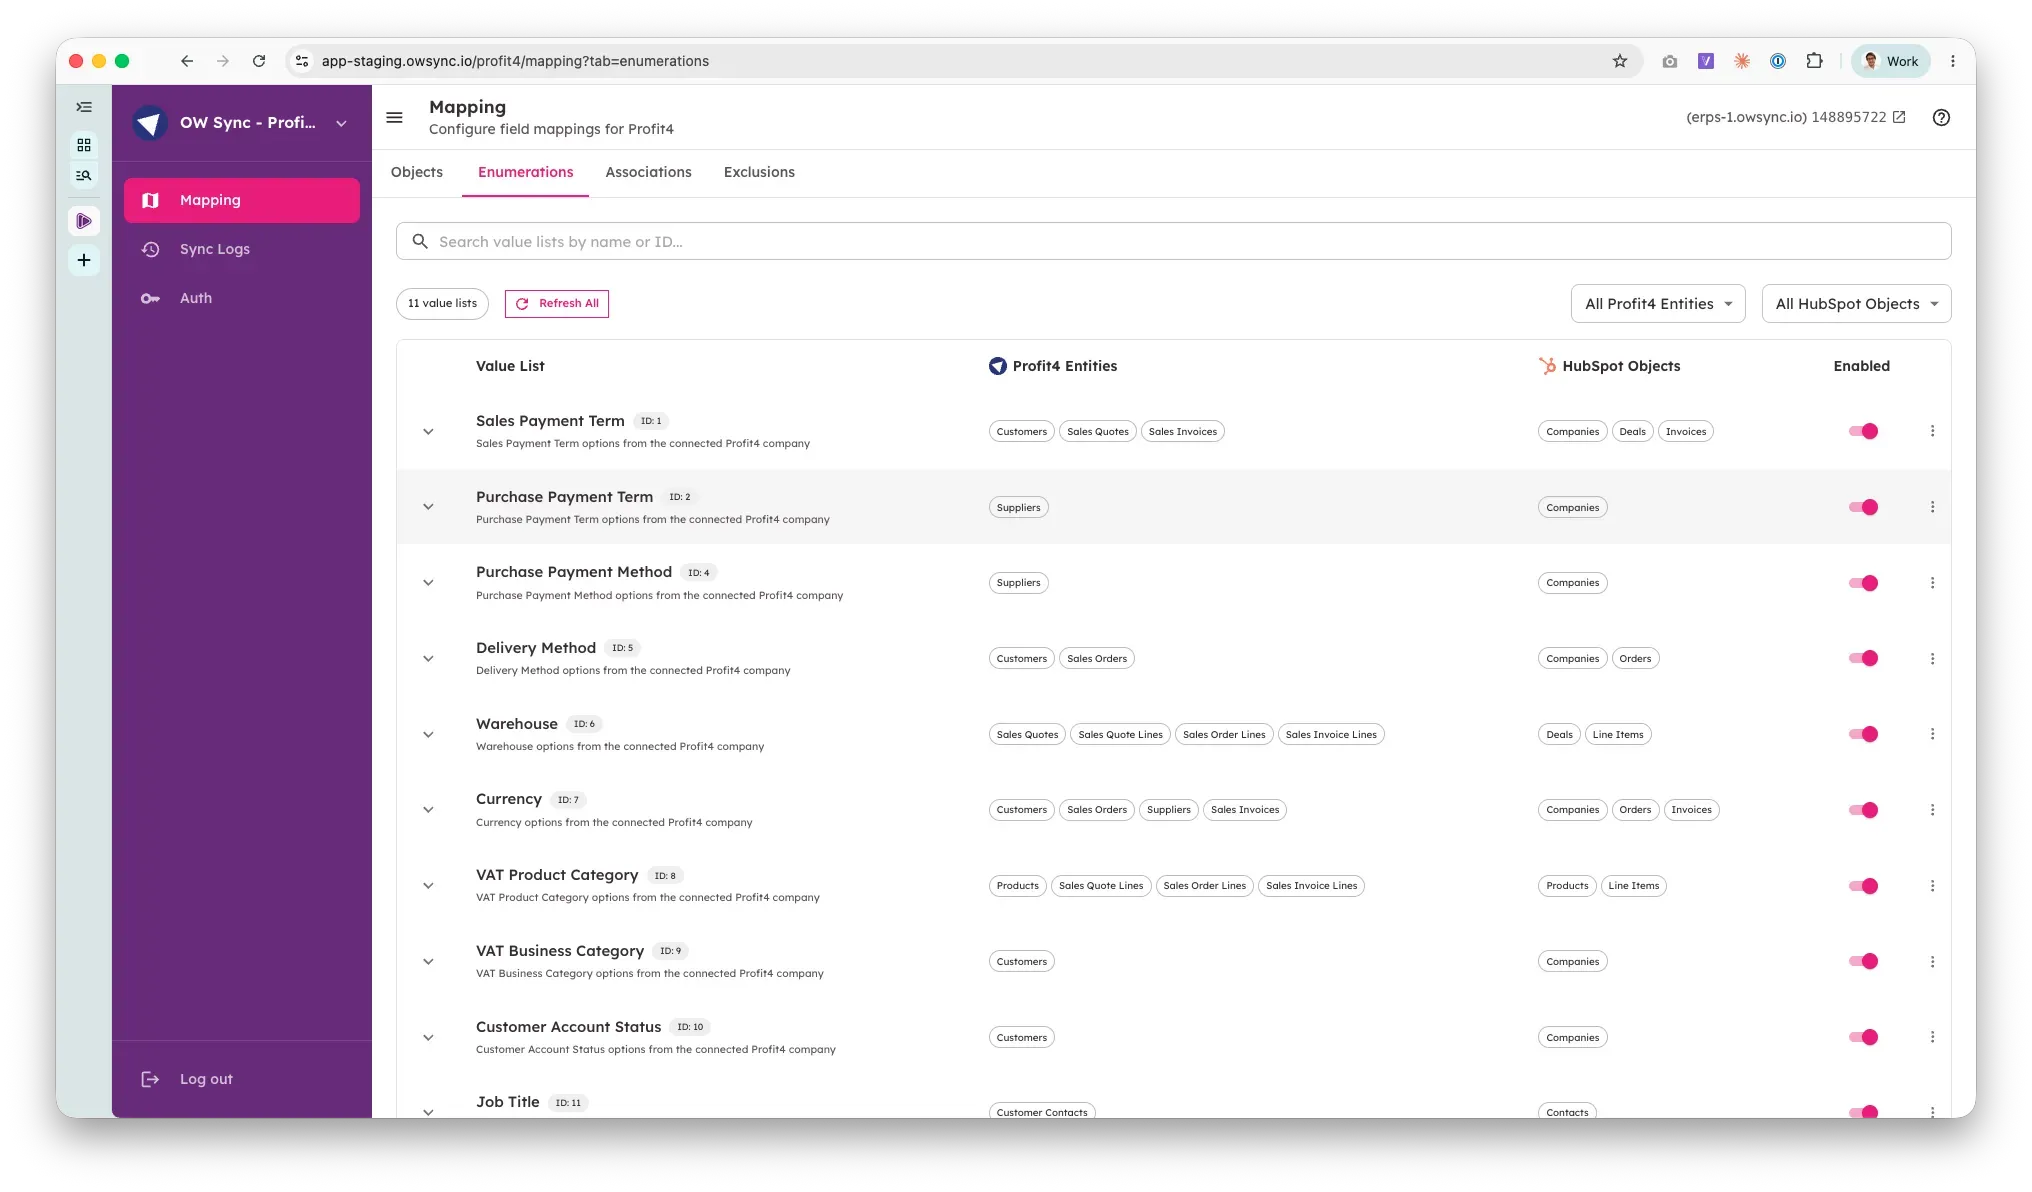
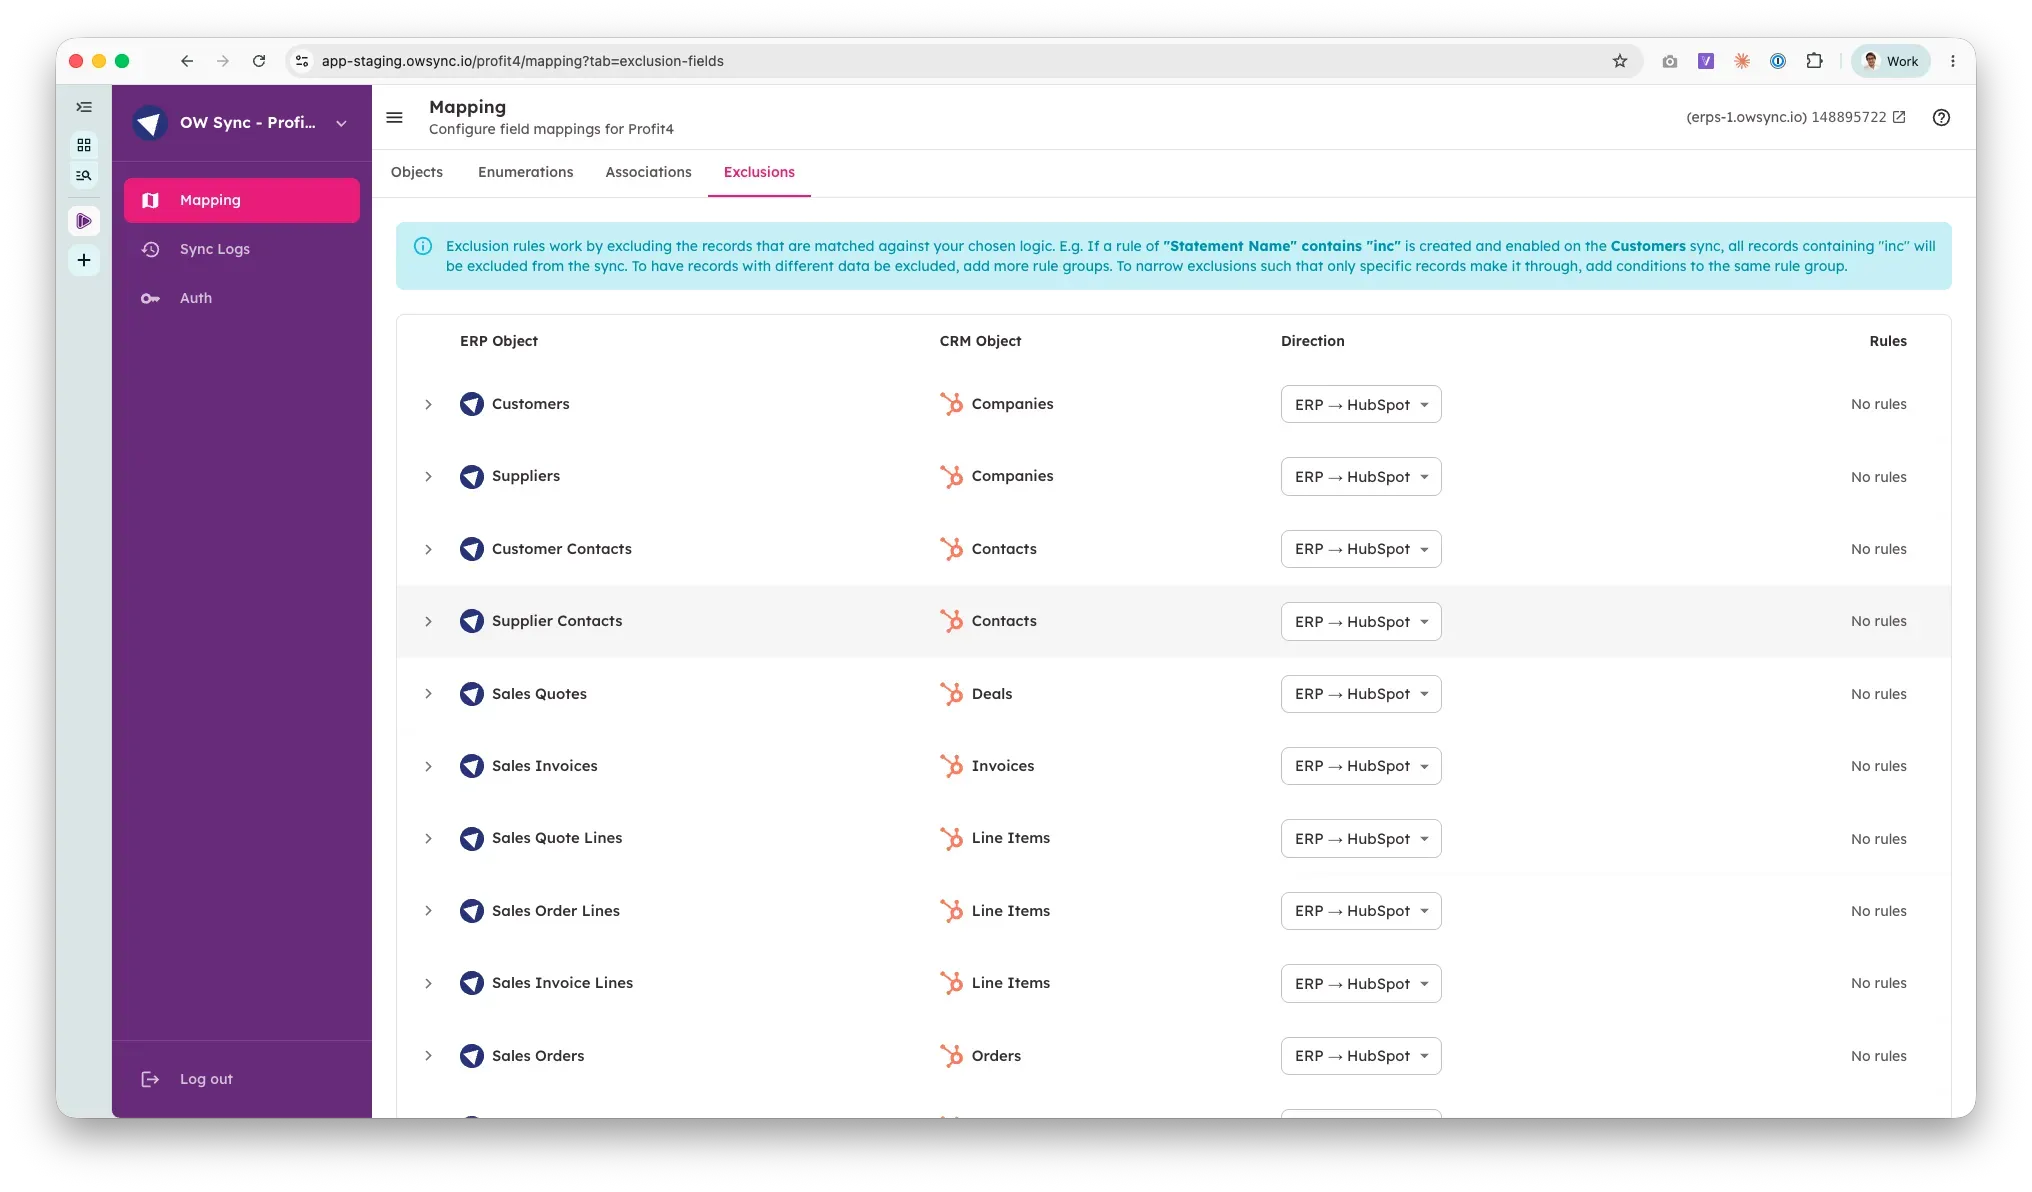
The Enumerations tab shows the lookup lists read from your Profit4 company that back the dropdown fields — payment terms (sales and purchase), payment methods (sales and purchase), delivery methods, warehouses, currencies, VAT product and business categories, customer account status, job titles, and carriers. Each Profit4 company has its own lists. The Exclusions tab lets you filter out records you don’t want in HubSpot.
8. Review Associations
Section titled “8. Review Associations”-
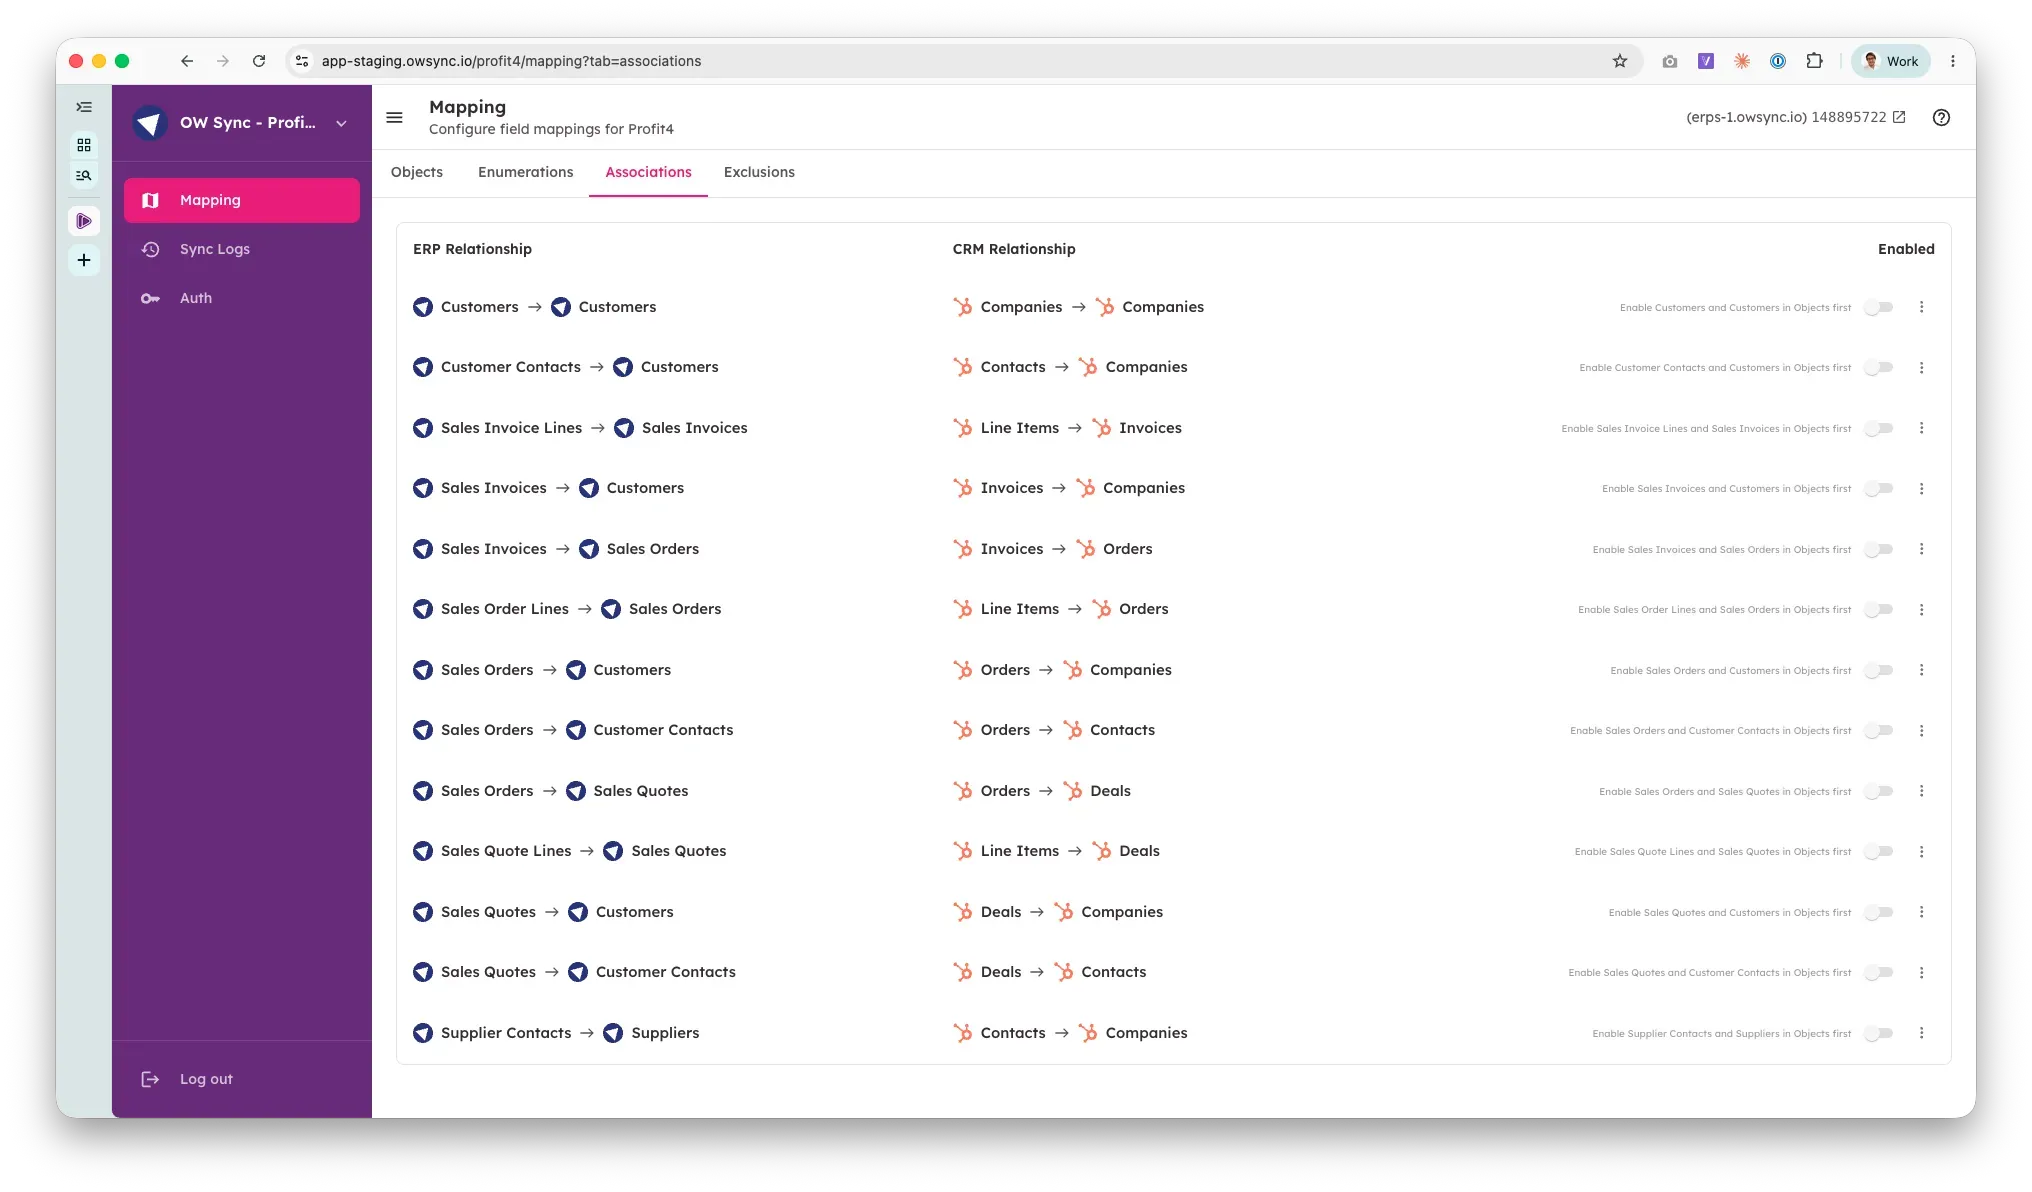
The Associations tab lists the relationships OW Sync builds automatically in HubSpot once the relevant sync pairs are running:
- Contacts → Customers and Supplier Contacts → Suppliers — each contact linked to their company
- Customers → Head Office — branch accounts linked to their head-office company
- Sales Quotes → Customers, Sales Orders → Customers, Sales Invoices → Customers
- Sales Quotes → Contacts and Sales Orders → Contacts — where the quote or order names a contact in Profit4
- Sales Orders → Sales Quotes — each order linked to the quote it was converted from
- Sales Invoices → Sales Orders — each invoice linked to the orders it was raised from
- Quote Lines → Sales Quotes, Order Lines → Sales Orders, Invoice Lines → Sales Invoices
-
Use the Activated toggle to enable the associations you want.
9. Manage Connections & Test Sync
Section titled “9. Manage Connections & Test Sync”-
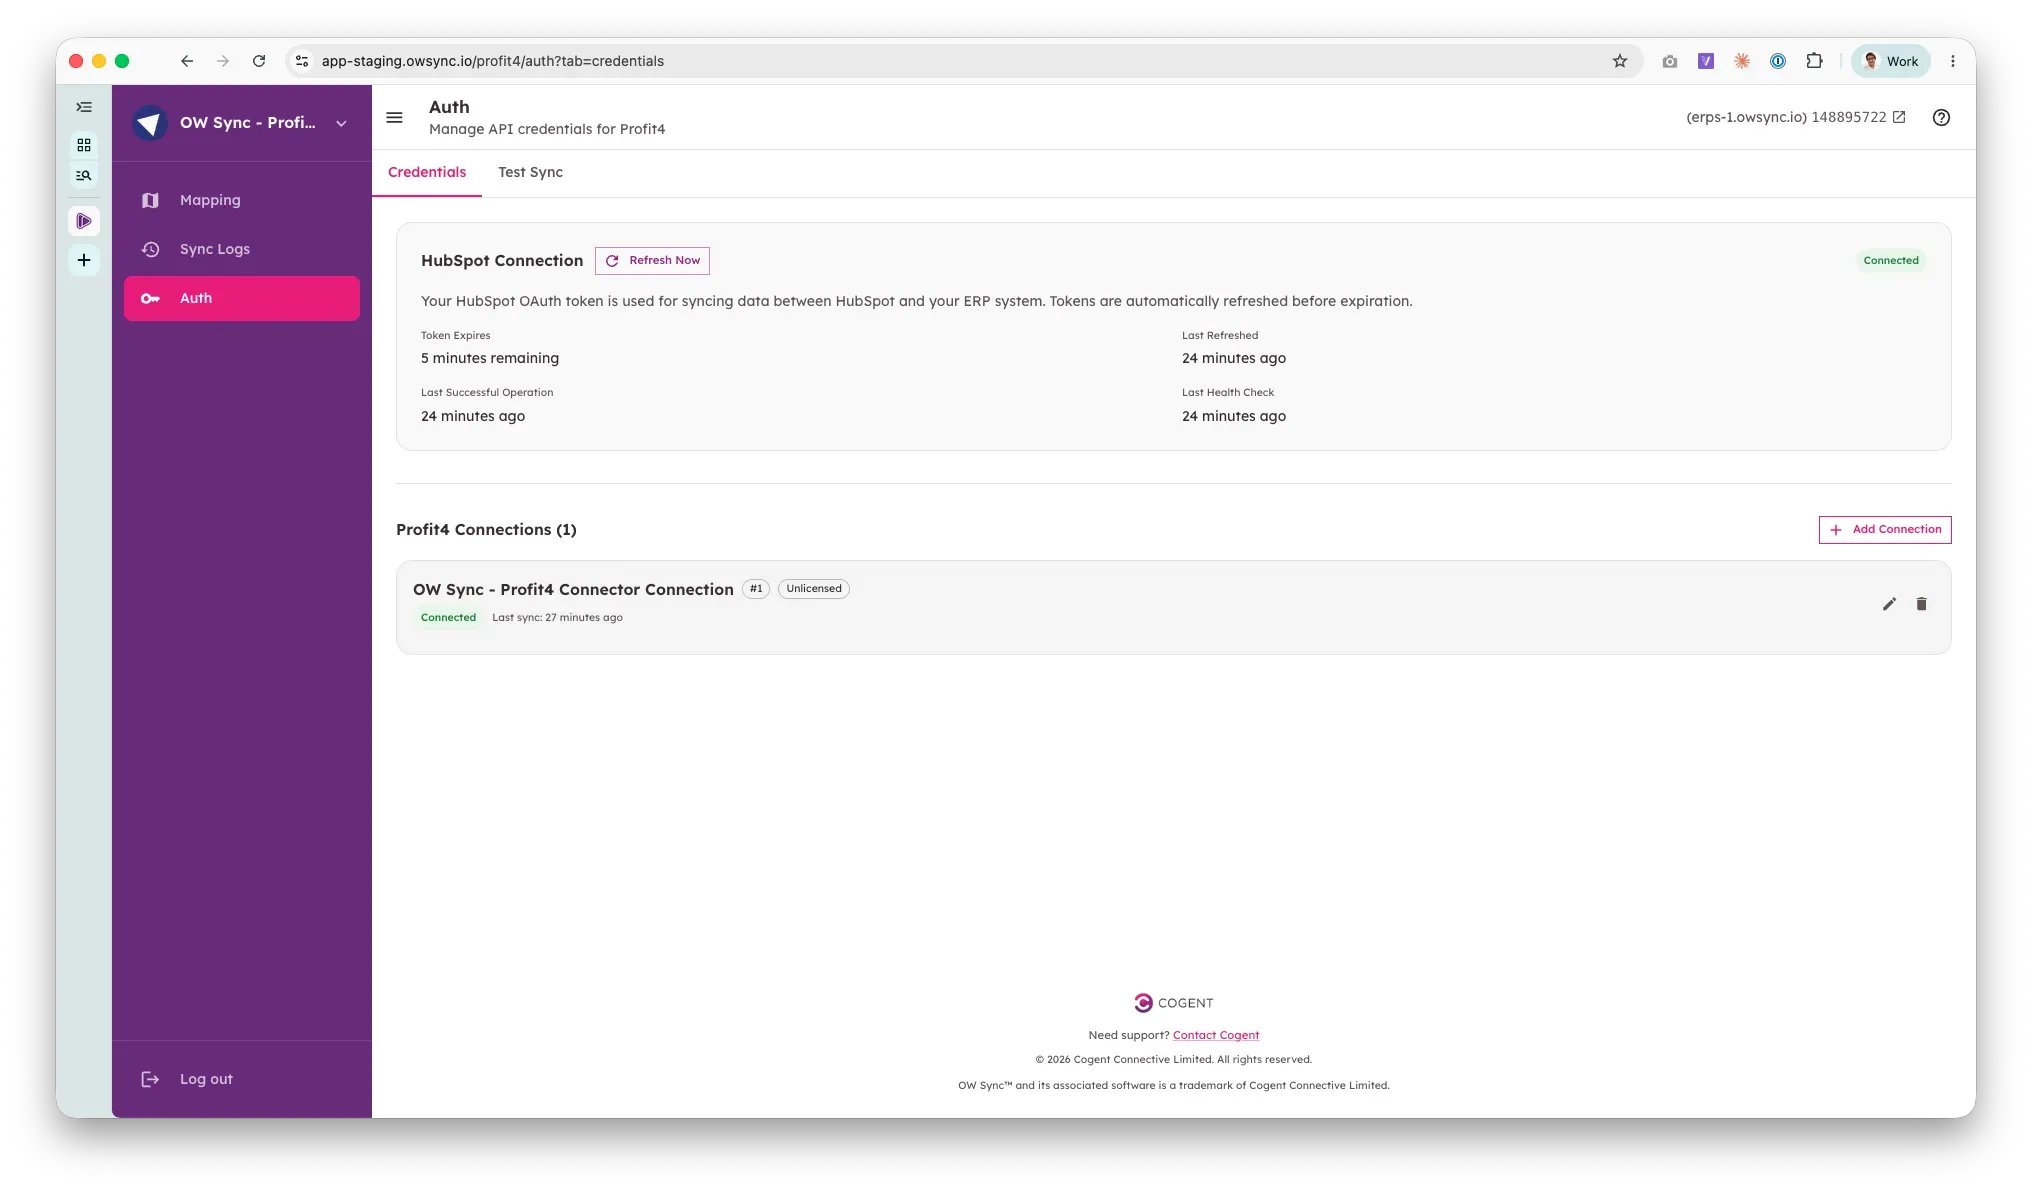
Navigate to Auth in the left sidebar. The Credentials tab shows your HubSpot connection status and each Profit4 connection with its status and when it last synced. Profit4 sends your login with every request, so there is no token to expire; OW Sync checks each connection every few hours and shows the reason if it stops working — for example after the API user’s password changes. Click Add Connection to connect another Profit4 company, or edit a connection to enter new credentials.
-
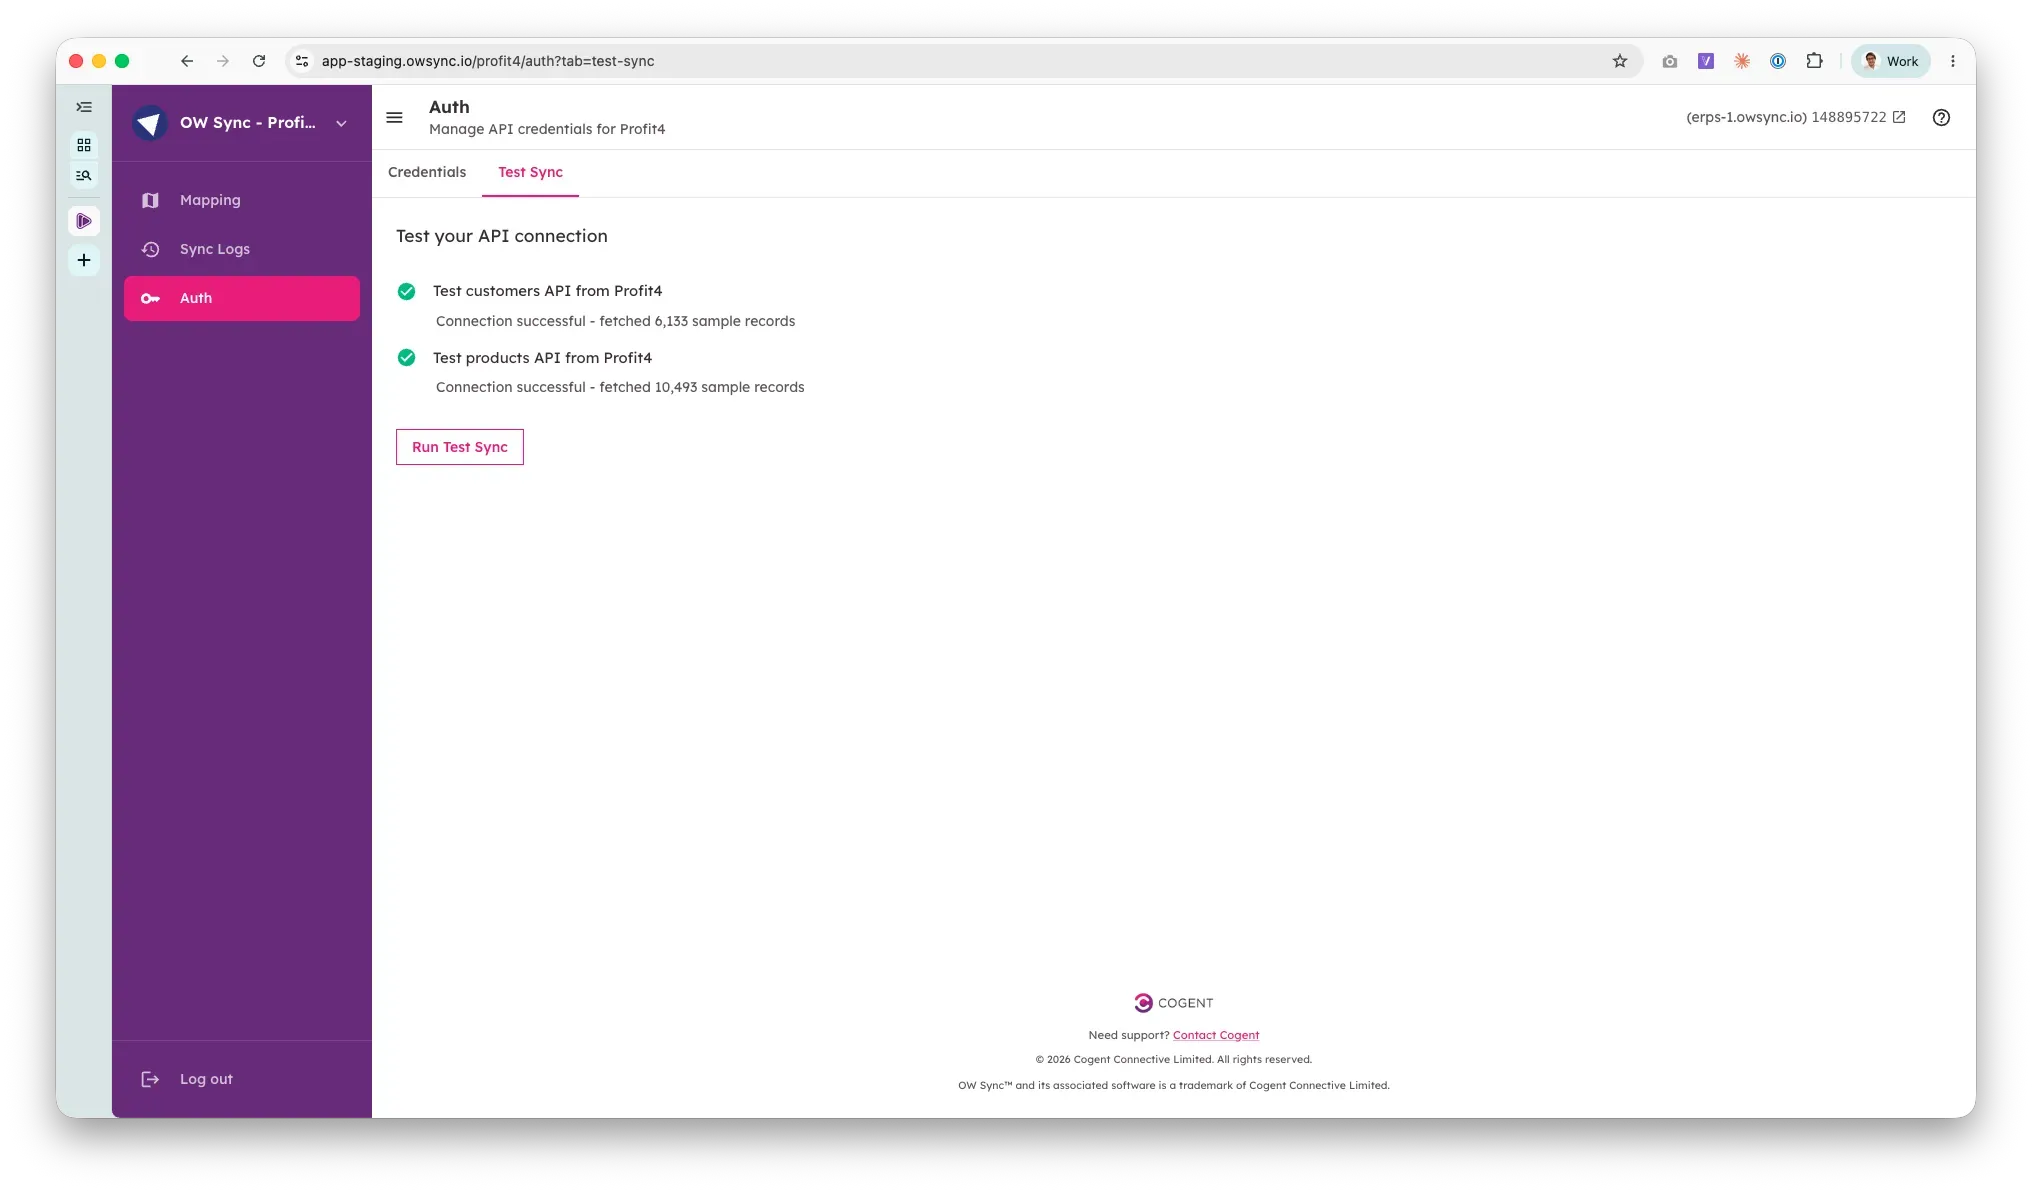
The Test Sync tab runs live checks against the selected company: Test customers API from Profit4 and Test products API from Profit4. Each reports how many records it can read.
10. Create Records in Profit4 from HubSpot (Optional)
Section titled “10. Create Records in Profit4 from HubSpot (Optional)”OW Sync ships HubSpot workflow actions that write back to Profit4, so you can create and update records directly from HubSpot without re-keying data. Add any of these actions to a workflow (for example, when a deal reaches a closed-won stage). Every action starts with a Profit4 Connection dropdown to choose which Profit4 company it writes to, and record IDs are the Profit4 IDs that OW Sync stores on each synced HubSpot record.
| Action | Plan | What you need to provide |
|---|---|---|
| Create Customer | All plans | Name, plus address line 1 and any attributes your company makes mandatory |
| Create Customer (Detailed) | All plans | As Create Customer; optionally every customer field and a primary contact in the same step |
| Update Customer | All plans | Customer ID |
| Create Contact | All plans | Customer ID and last name |
| Update Contact | All plans | Contact ID |
| Create Product | Advanced actions | Product reference, description, and any mandatory product attributes |
| Update Product | Advanced actions | Product ID |
| Create Sales Order | Advanced actions | Customer ID, warehouse, and a first line — a product (by Profit4 reference, such as the line item’s SKU, or by ID) and a quantity |
| Update Sales Order | Advanced actions | Sales order ID |
| Add Line Item | Advanced actions | Sales order ID, a product (by reference or ID), and a quantity |
| Edit Line Item | Advanced actions | Line ID |
| Create Payment | Advanced actions | Sales order ID, bank account, payment method, and amount |
- Attributes: Profit4 lets each company define its own attributes on customers, products, and sales orders — such as a sales rep, company size, or product group — and make some of them mandatory. Customer actions have five attribute slots, and product and sales order actions three: pick an attribute from the dropdown (mandatory ones are marked (required)) and enter its value. For list attributes, enter the option as it appears in Profit4; capitalisation doesn’t matter. If a value doesn’t match, the action stops and lists the valid options.
- Lookups: Fields that point at a Profit4 list — countries, currencies, payment terms, delivery methods, warehouses, VAT categories, banks, and payment methods — are dropdowns populated live from your company. If you have connected more than one Profit4 company, each option is labelled with its company; pick one from the same company as the action’s connection, otherwise the action stops with an error rather than writing another company’s value.
- Defaults: Optional fields left blank are not sent. New customers and products default to the United Kingdom, new products to the Standard VAT category and a selling unit of 1 × Each, new orders to today’s date, and a line without a price is priced by Profit4 from the product. Updates only change the fields you fill in.
Action outcomes, including any Profit4 validation errors, appear in the workflow’s action logs and on OW Sync’s Sync Logs page.
ℹ️ Plan tiers: Customer and contact actions are available on all plans. The product, sales order, line-item, and payment actions require a plan that includes advanced workflow actions.
ℹ️ Payments are posted: Create Payment posts a receipt to the order in Profit4 straight away — Profit4 doesn’t keep it as a draft. Reverse it in Profit4 if it was recorded by mistake.
11. Review Sync History
Section titled “11. Review Sync History”-
Navigate to Sync Logs in the left sidebar to view synchronization history: data syncs from Profit4, associations, and the write-backs your workflow actions make.
-
The first sync will begin shortly after you enable a sync pair. Subsequent syncs run automatically on the schedule you set.
12. Verify in HubSpot
Section titled “12. Verify in HubSpot”- Once a sync completes, navigate to the matching HubSpot objects — Companies, Contacts, Products, Deals, Orders, and Invoices — to verify the data.
- You should see Profit4 records with all mapped fields populated, contacts linked to their customer or supplier, quotes, orders, and invoices linked to their customer’s company, orders linked to the quote they came from, and line items attached to their parent quote, order, or invoice.
This guide will be updated with new functionality, object types, and synchronization options as they become available. Visit the OW Sync website for the latest features, or contact the Cogent Connective team with any questions not covered here.